

Challenge Accepted - Build a Sound Based Gadget Cache
Let's play this one by ear. . .

The Gadget Talk podcast issued a challenge to create a puzzle box or gadget cache based on sound. I decided to see what I could do without purchasing a special sound module, using only the basic Arduino Nano. My goal was simplicity and low parts count to make an inexpensive cache requiring little maintenance.
This cache requires the finder to bring a 9V battery for power. When the battery is connected to the pair of bolts the box plays “Charge” to show it is activated. Then the box repeats a series of four tones. These tones are all notes in the 4th octave. The finder can identify the notes by ear or by the many smart phone apps that identify notes. The four notes B A C D form the combination of the lock. It would be best to use a letter combination lock. If a numbered lock is used, I suggest adding info to decode letters to numbers in the hint. Please jump over to my YouTube video to see it in action.
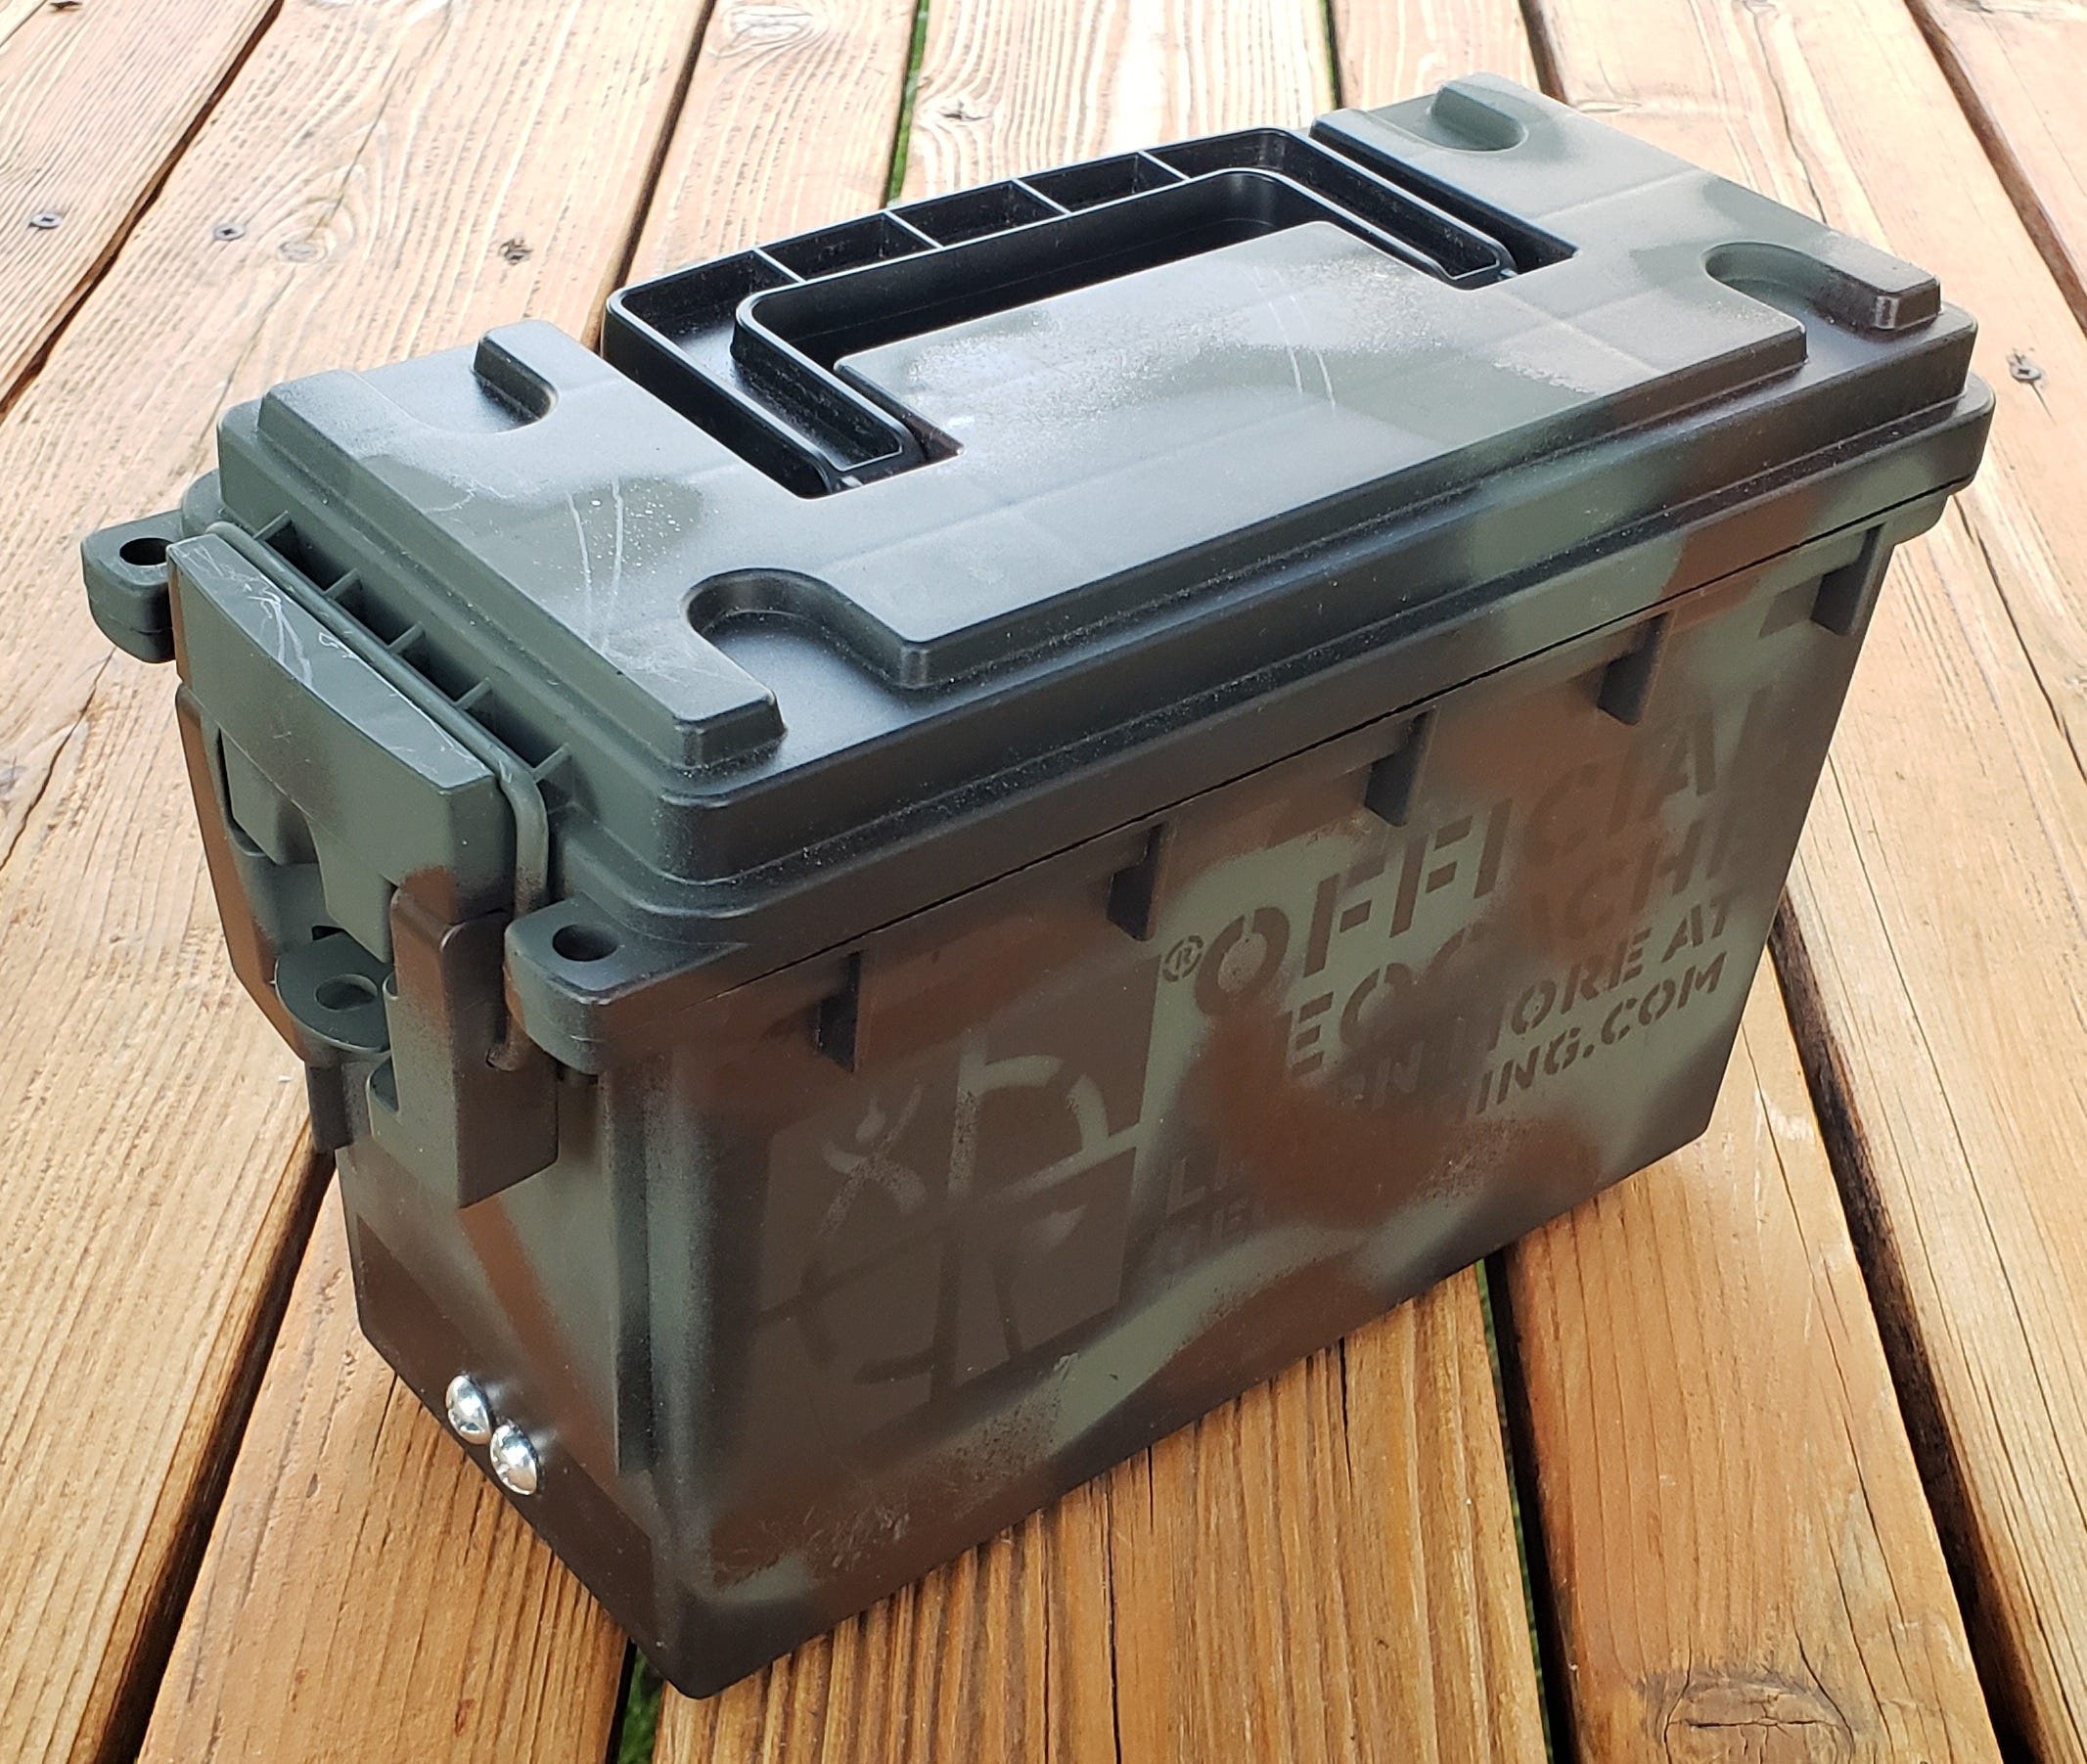
The construction of the cache is simple. I cut some scrap material to make a bottom for the ammo can. It is sized so it drops most of the way down into the can to allow space for the swag inside the locked ammo can. This plate is glued into place to seal the edges, making sure the finder can’t access the inner compartment to tamper with the circuit.
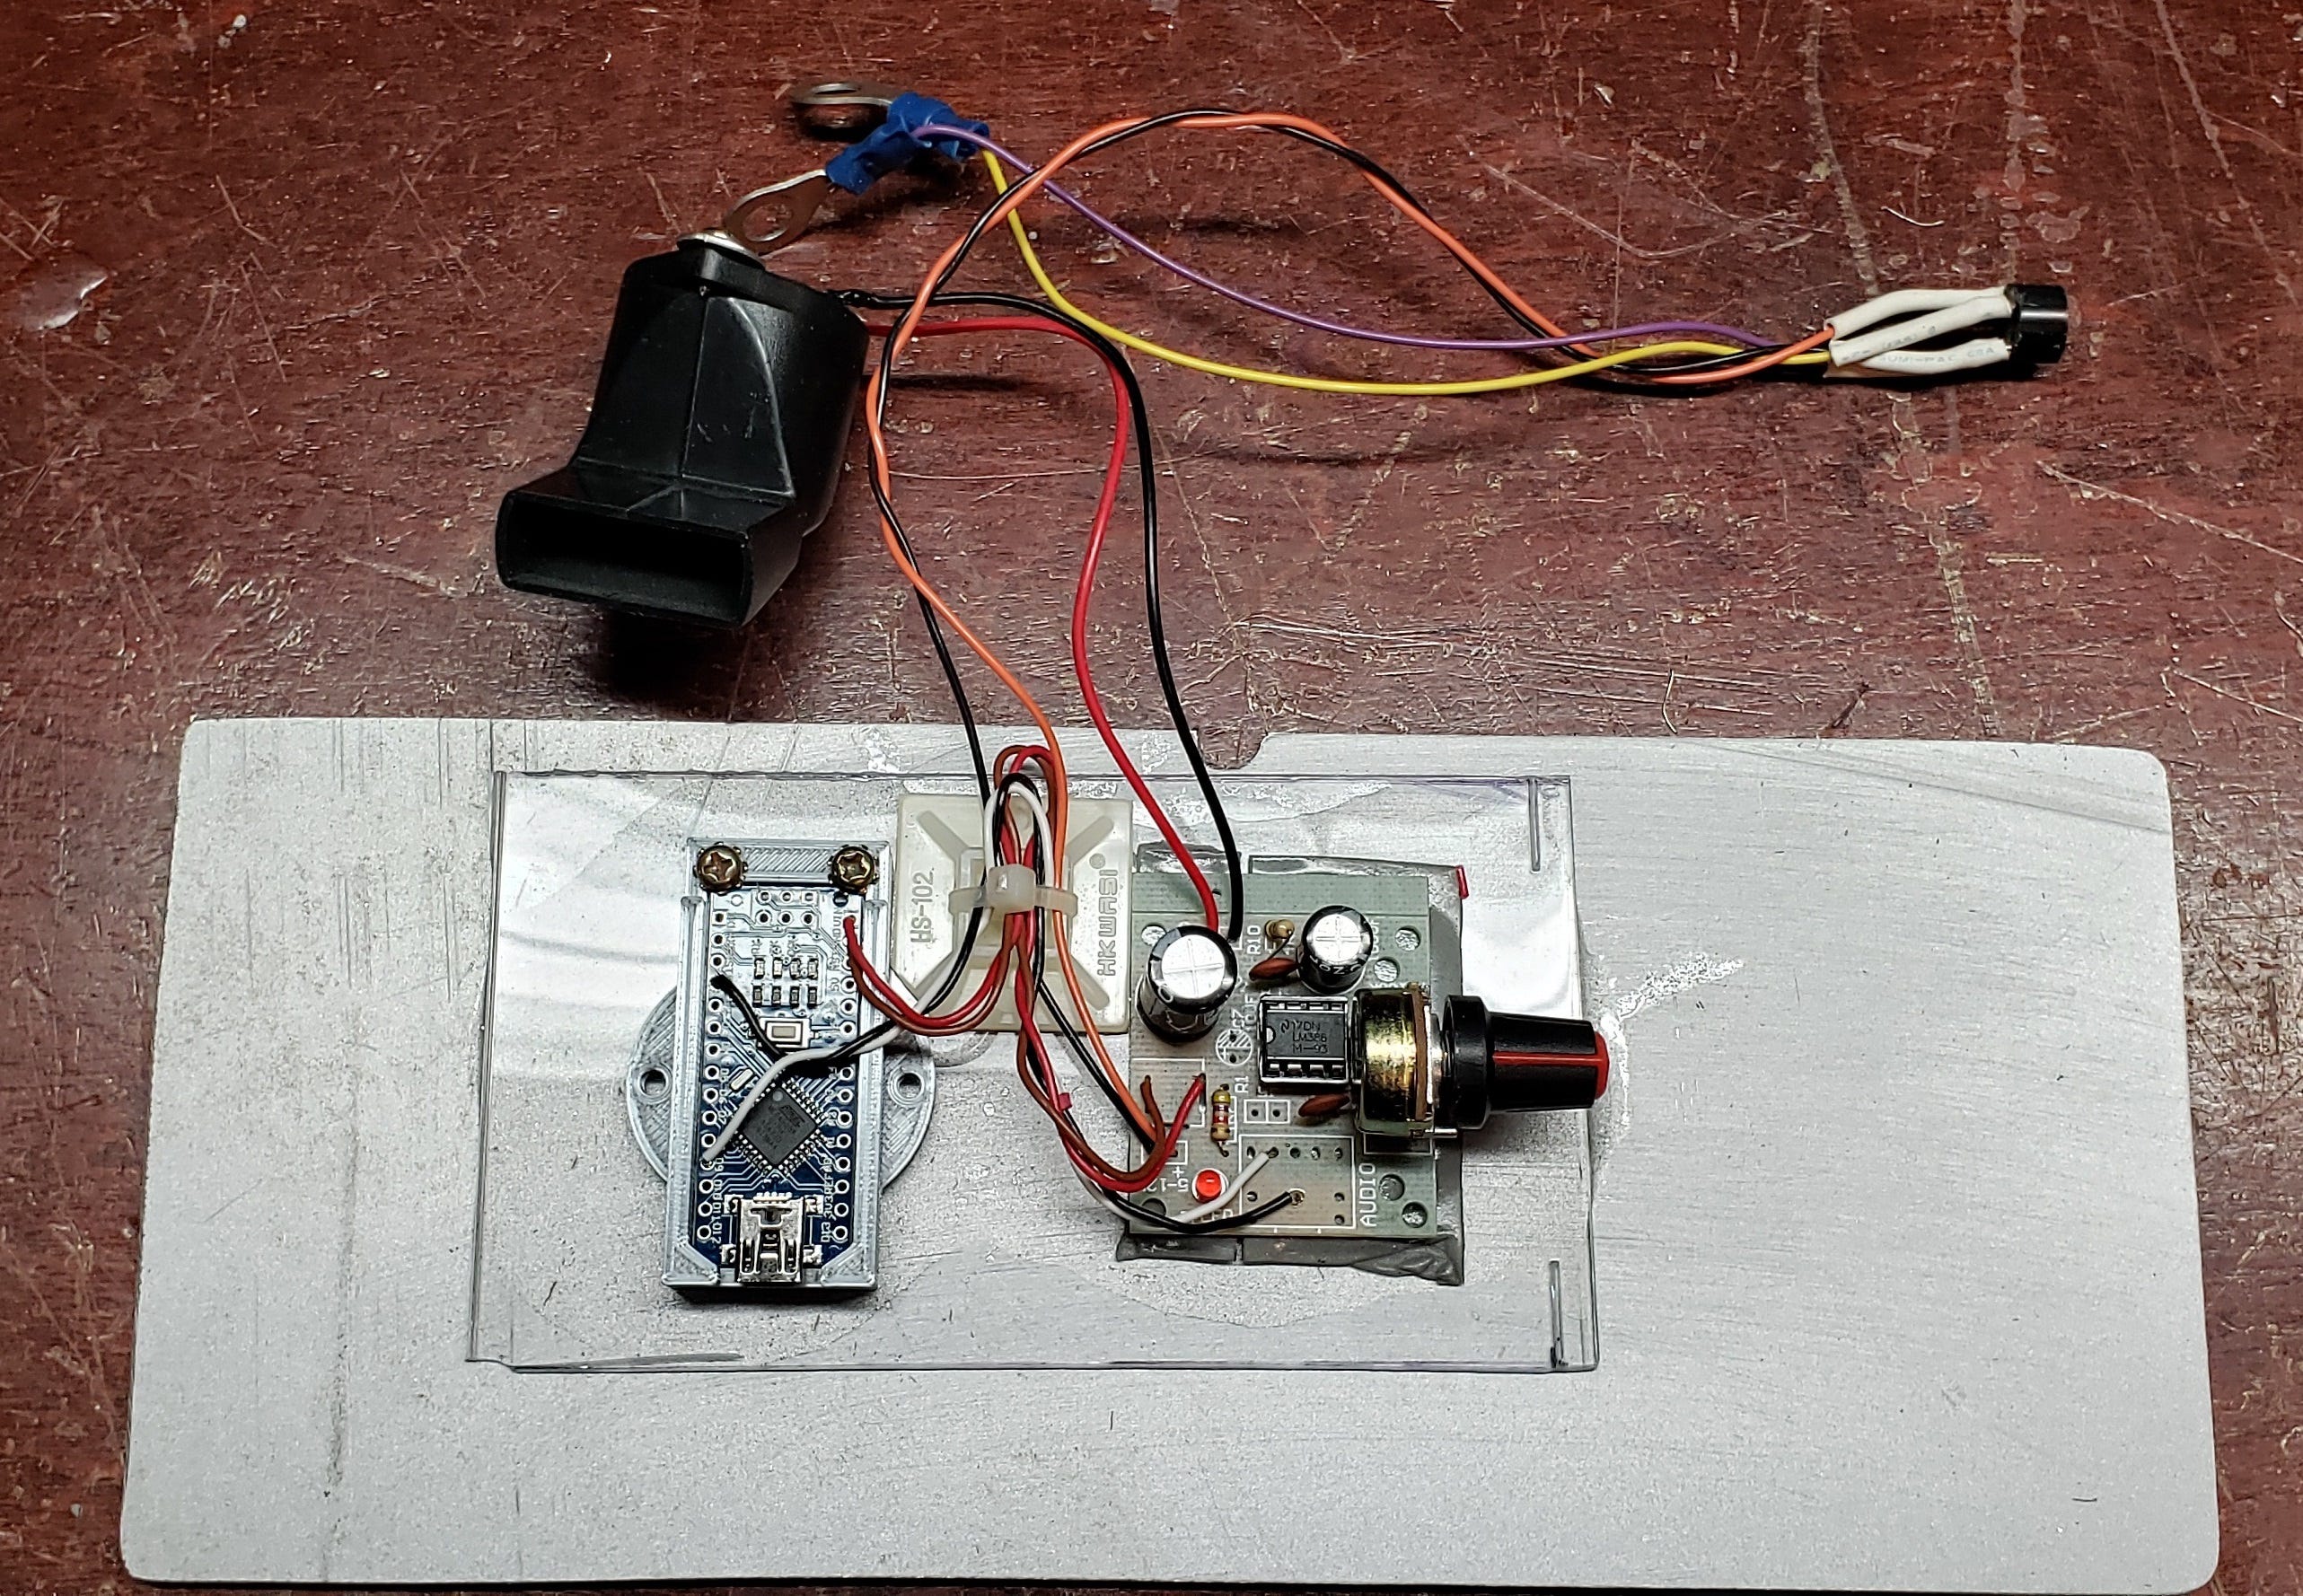
The Arduino Nano circuit is as basic as it gets. It requires power, ground, and output D9 to drive the speaker. The Nano can drive a small piezo speaker directly. I initially tried this and it was not loud enough to be heard well outside the ammo can. It would have worked, but I wanted it to be louder. The Nano will not drive a regular, 8- or 4-ohm speaker. It did work when I tested it but all the information I could find indicated this was too much current for the output pin to live a long and healthy life. I used my go-to circuit for making sounds louder, the LM386. The amp kit I used sells for under $3 from mail order sources and includes everything needed for a complete audio amplifier. 0.25 to 0.5 watt is more than enough for an application like this, but you can get versions of the LM386 up to 1W output. The amp happily works on any voltage suitable for the Nano’s Vin pin. I did set the circuit for low gain and adjusted the volume knob to about half to prevent distortion. All the electronics mount to the bottom of the plate with double faced tape. I 3D printed a holder for the Nano but this is not necessary for the cache to work.

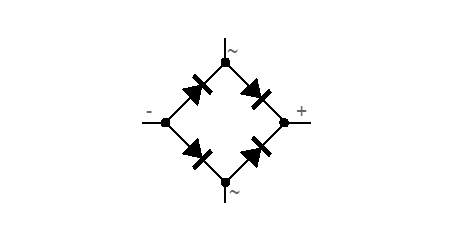
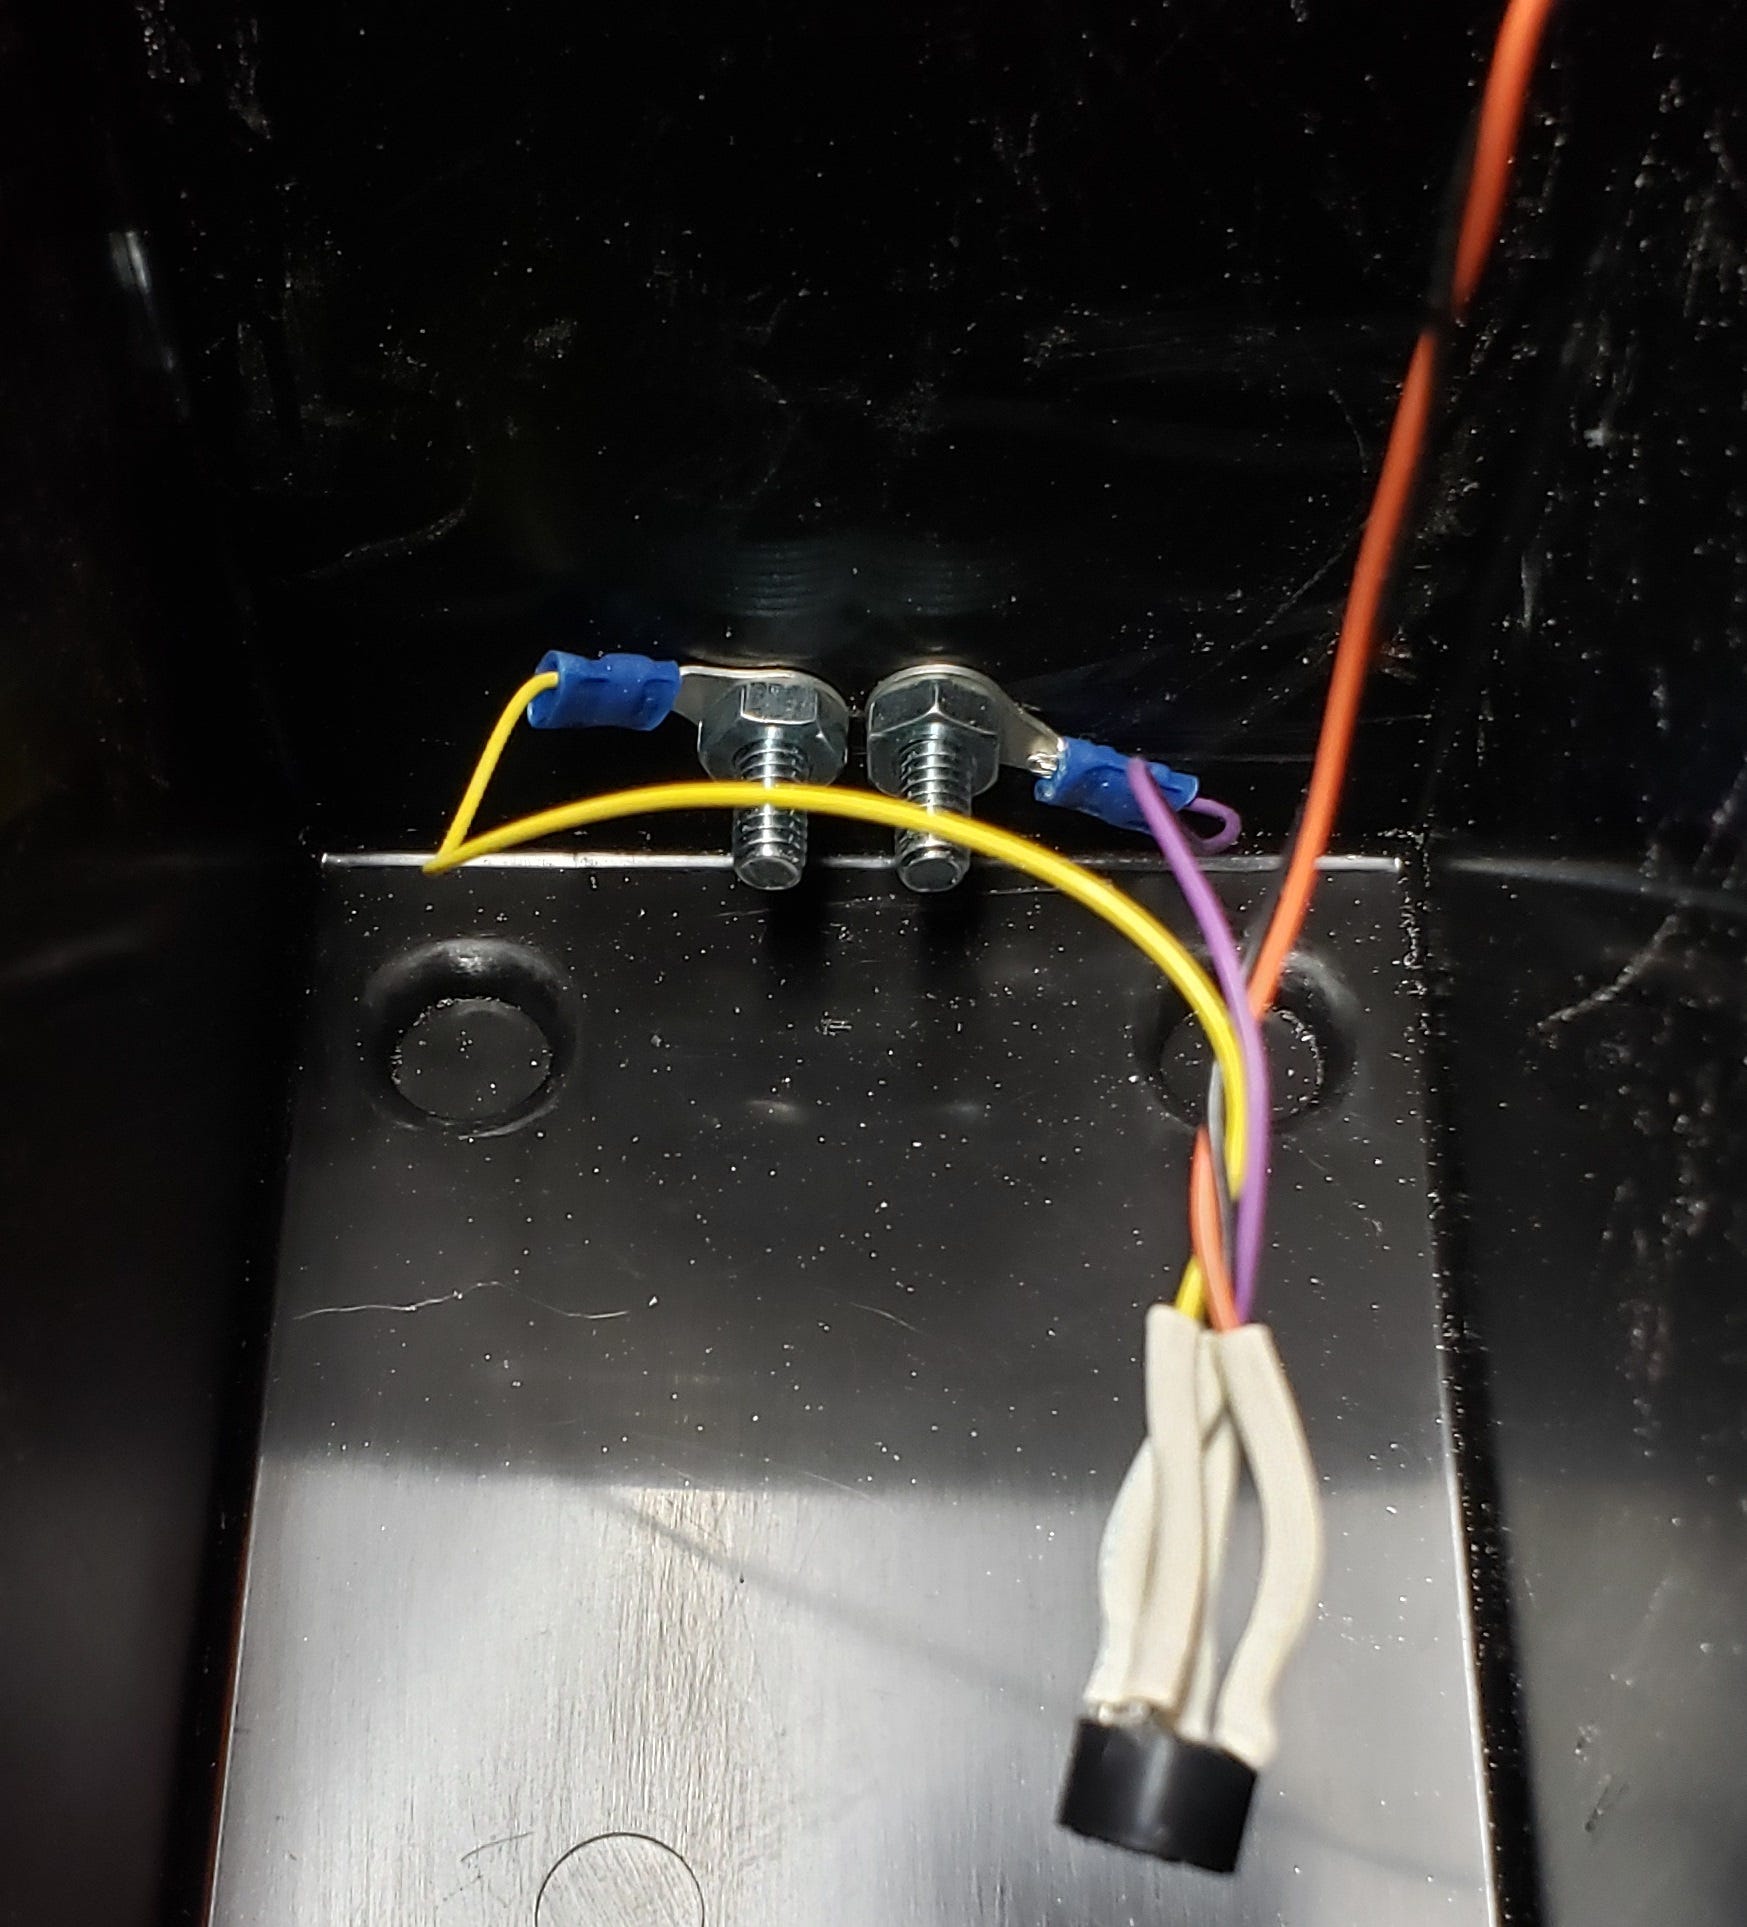
The electronics in this puzzle are polarity dependent. Connecting the battery backwards could damage the circuit. To prevent this a I used a bridge rectifier. This is a set of four diodes in one package, which allows the input to be either polarity and still deliver known polarity at the output. Most often used to turn AC into DC, I used it here to prevent damage. There is a small voltage drop across the diodes but using a 9V battery this still leaves around 7-8V for the circuit.
This is perfect for the Nano and the LM386 amp. I highlighted the markings on the rectifier in silver in the photo so you can see the two terminals marked ~ that are connected to the incoming power source. The + and – terminals are the output to the circuit inside.
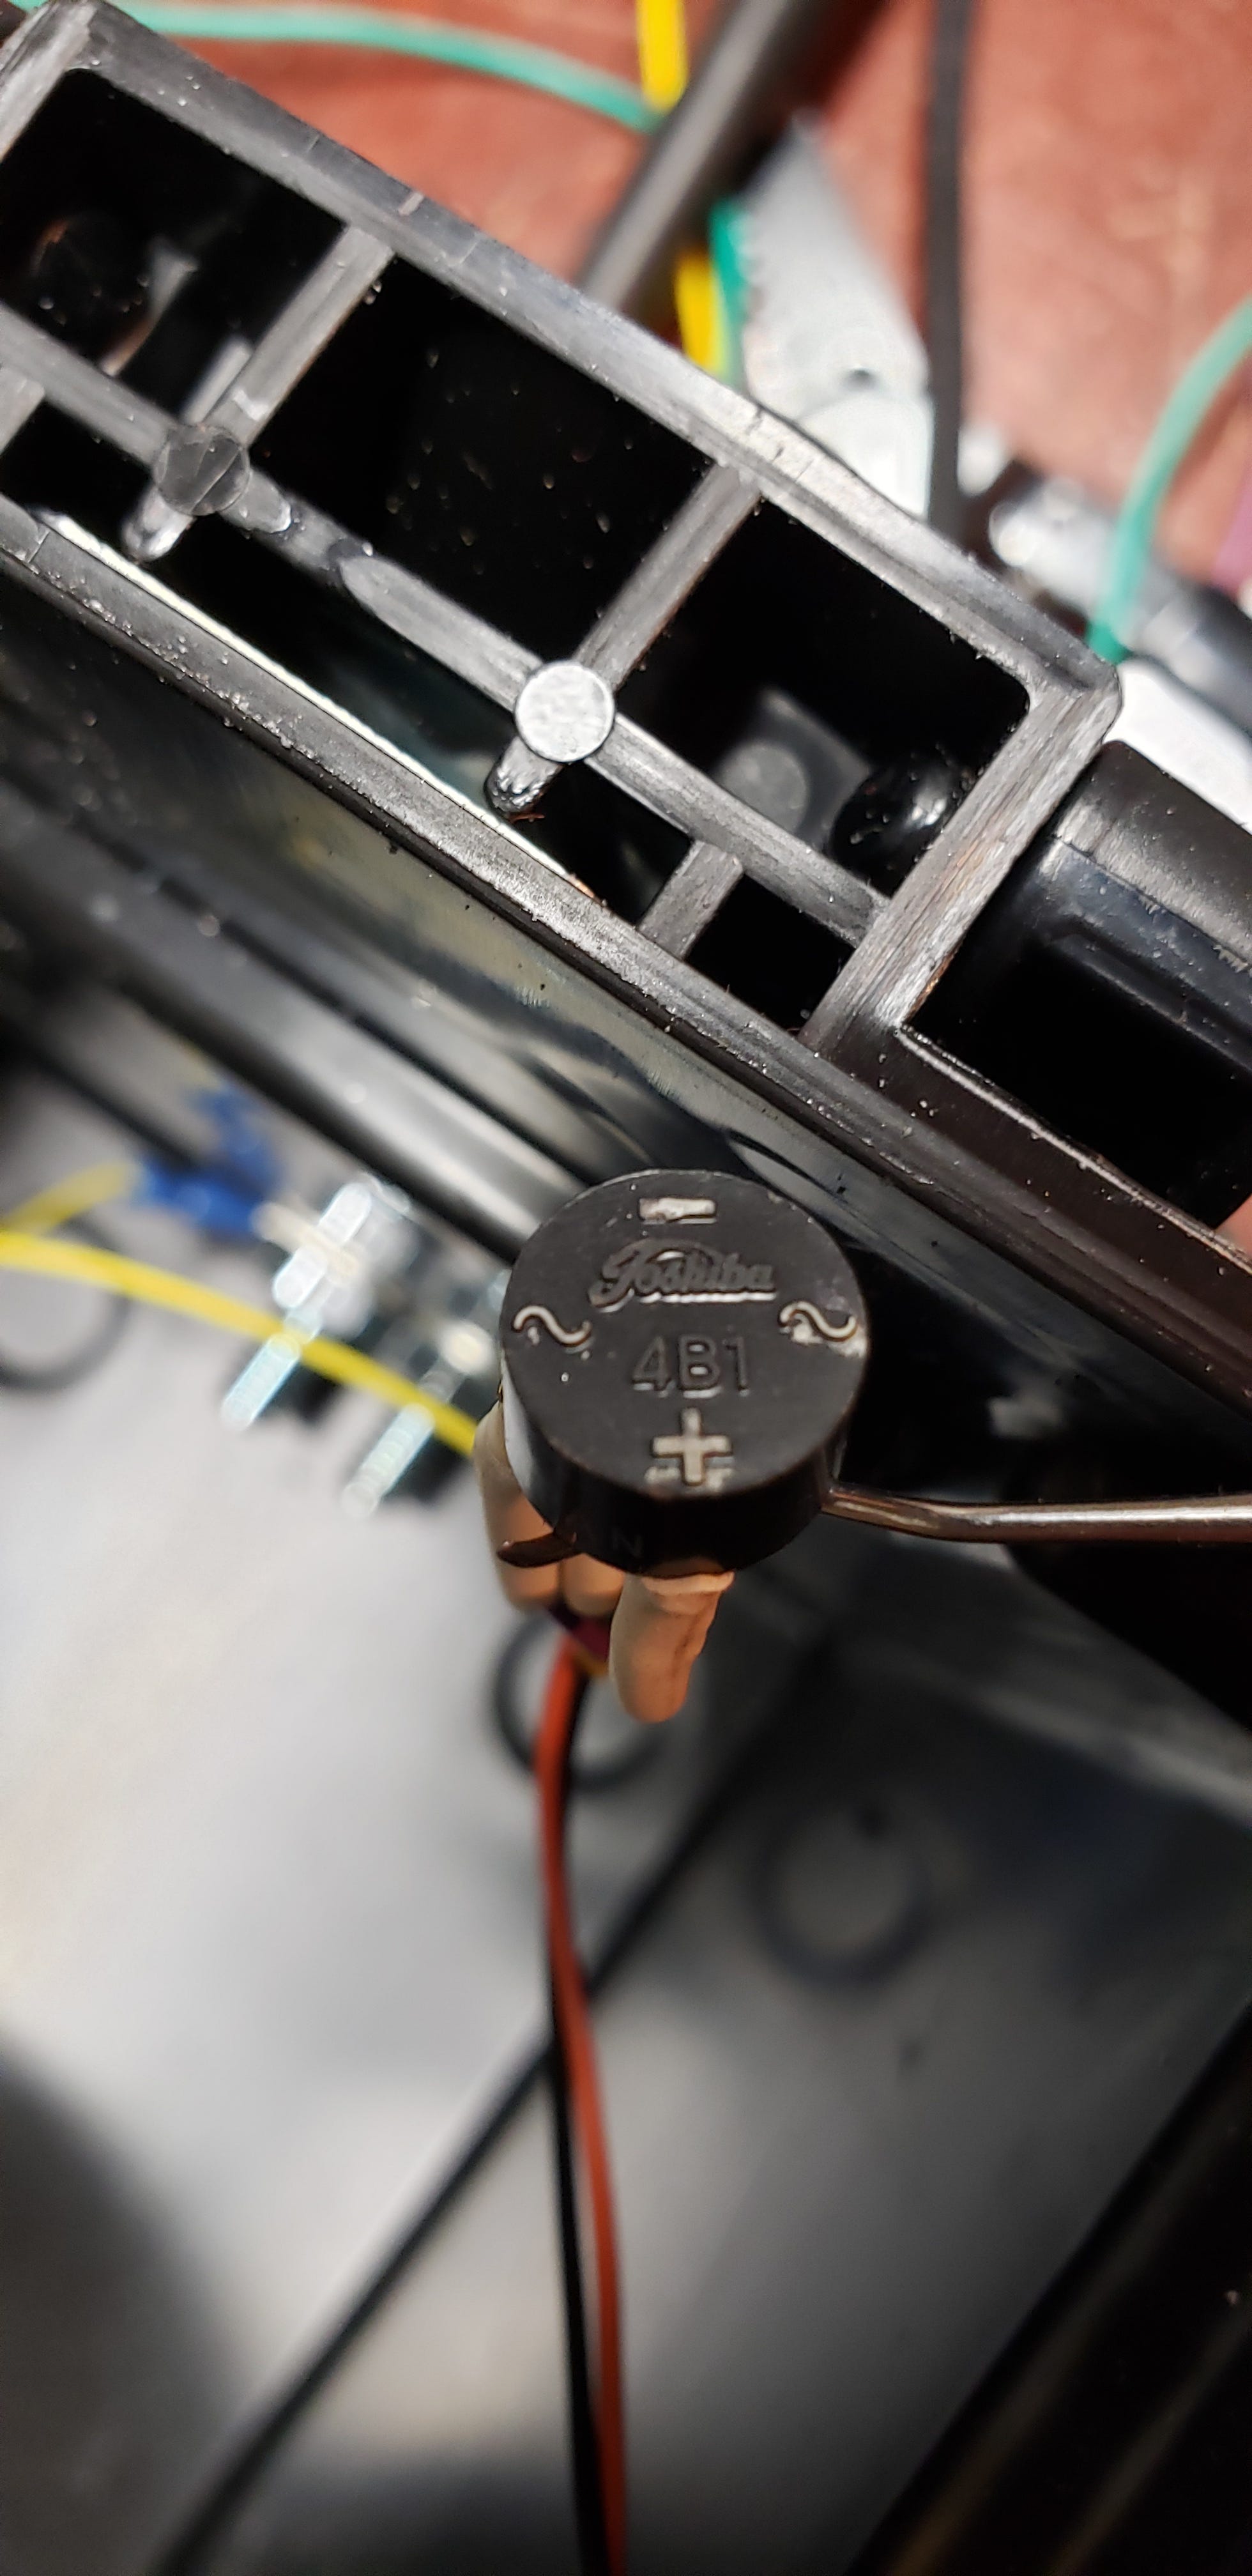
The finder applies power to a pair of bolts on the outside of the cache container, sealed with silicone. These bolts are wired to the ~ terminals on the rectifier.
Programming is simple brute force. There are no elegant loops due to the low number of notes. This makes the code simple to understand and modify. The code starts by setting pin D9 as an output. Next the code plays the notes for “Charge”, followed by the notes for the code. The trick to remember here is the tone command starts playing at the output, frequency, and duration specified but the code immediately moves on to the next line. You must insert a delay longer than the note duration to prevent overlap. This example plays the tone on output pin D9 at 494Hz for 2000 milliseconds (2 seconds). It then waits for 3 seconds to allow the note to play and have a one second delay between notes.
tone(9, 494, 2000); // play B
delay(3000); // Wait for 3 seconds
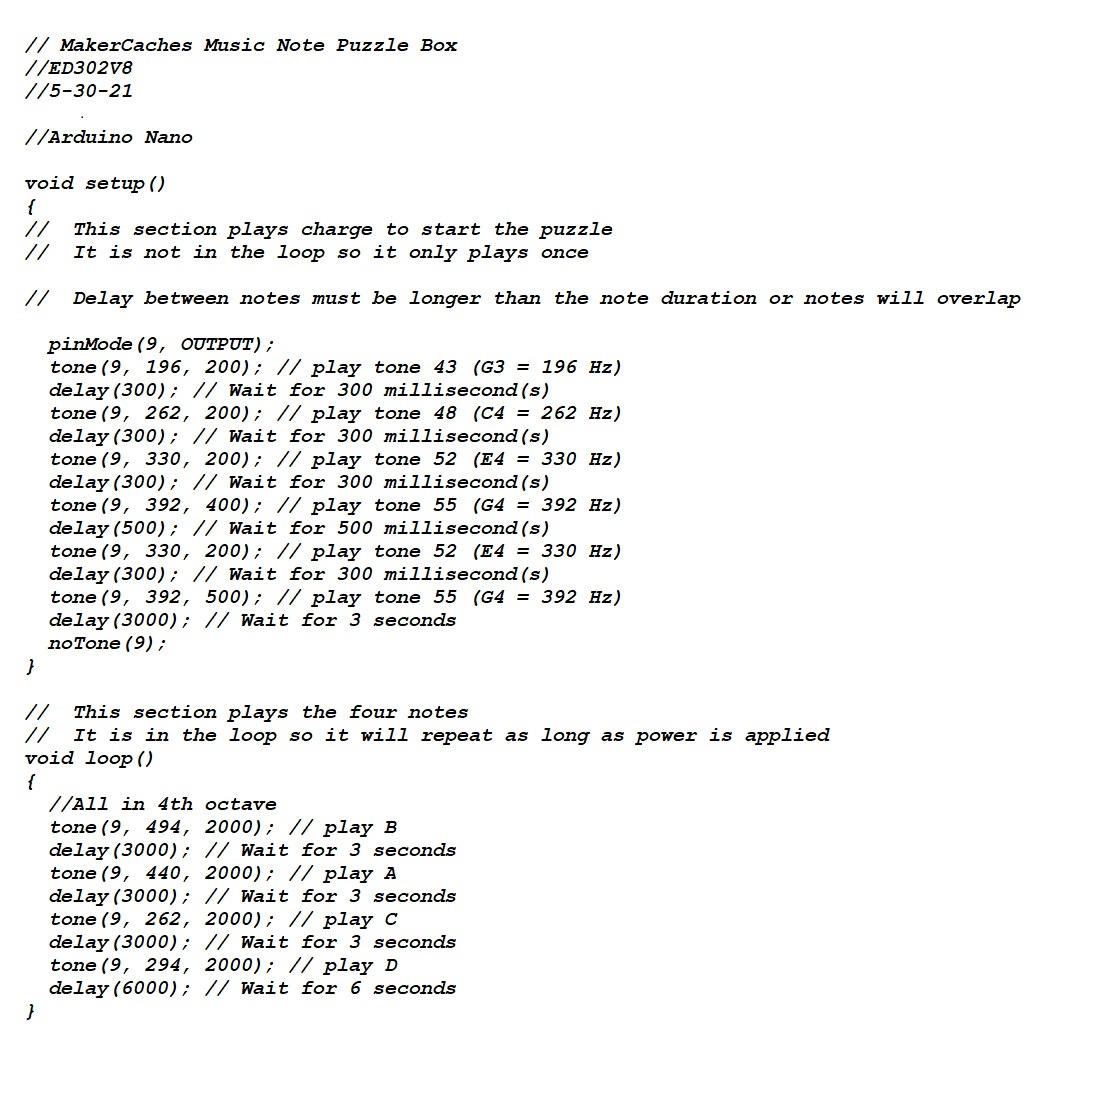
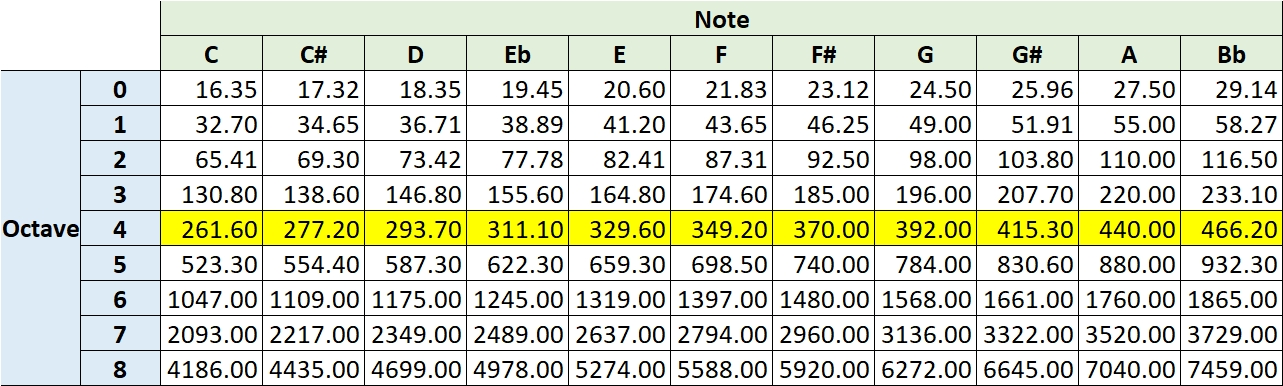
To change the notes played change the frequencies for the notes in the loop. Here’s a handy reference table to make the process simple. I used the 4th octave, highlighted in yellow, but any frequency playable by the Nano would be fine. You can see on the chart that the 4th octave A note is 440Hz.
If you have the typical junk box of parts at home and can scavenge a small speaker and the other assorted parts, the total build cost for this puzzle should be $10-$15 including the $5 plastic ammo can. If you are buying everything new it should be $20 to $25.