
How Not to Be Seen
Preparing to paint the outside of your gadget build

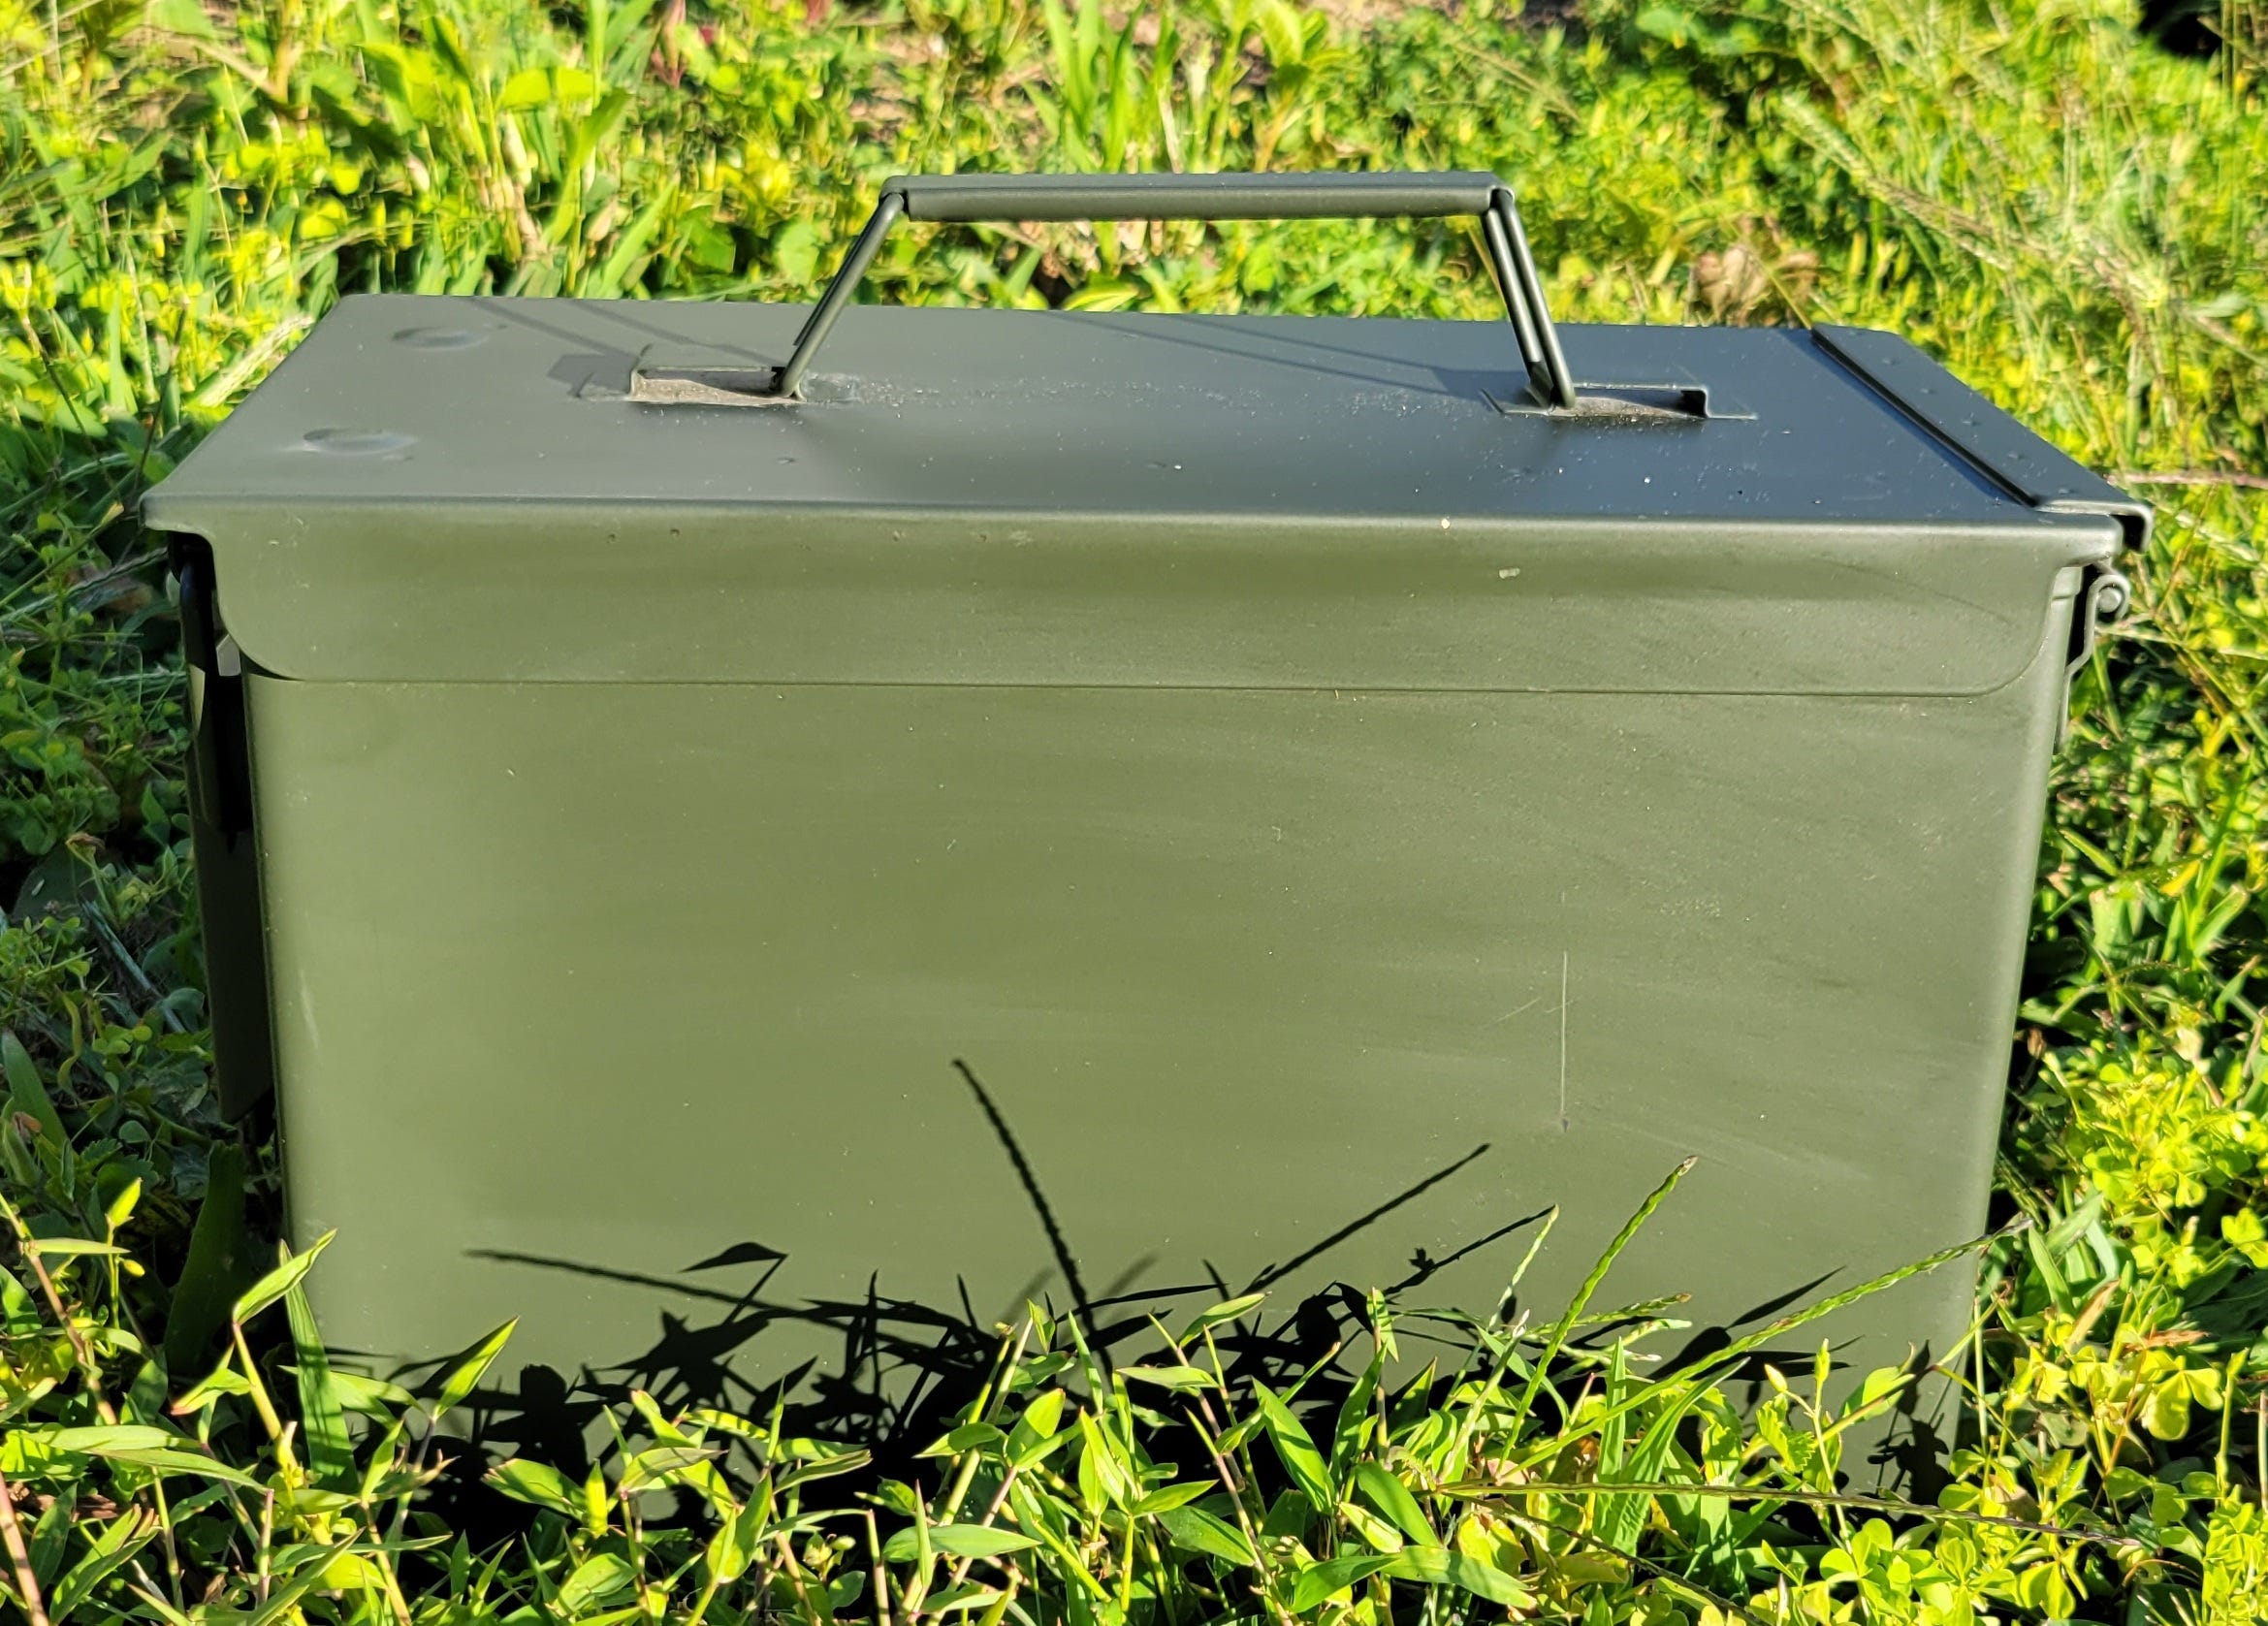
Most of time, geocaches are not intended to be seen. You can find examples of how not to be seen in Public Service Film No. 42. This can mean camouflage, or it might require painting your container to match where it is hidden. An ammo can in the woods would probably be painted to blend in with its surroundings. A fence post cap cache should be painted to match the rest of the fence. This week’s article is about paint and painting.
Step 1 - Choosing Paint
Think about where the cache will be hidden. If you have it in a forested area then greens, browns, and blacks would probably work best. If the location is desert, shades of brown and tan might work best. But picking the paint to use is more than choosing a color. Consider:
What is the container made from?
Will the paint be weatherproof or will it need a topcoat of some kind?
Will the paint adhere to the container and not chip off?
Will the paint react with the container and cause bubbling or melting?
Generally geocache containers will be made from metal, plastic, or wood. Wood takes a little more work to make it weatherproof, and is outside of this article’s scope. If you would like to see what I do for wood caches, drop a comment at the end of the article.
Metal ammo cans are easiest as nearly any paint will stick if the surface prep is good. Plastic can be more tricky. Some paints are too “hot” and will attack plastic (chemically, not actually by heat) and others don’t bond to the plastic and scratch off easily.
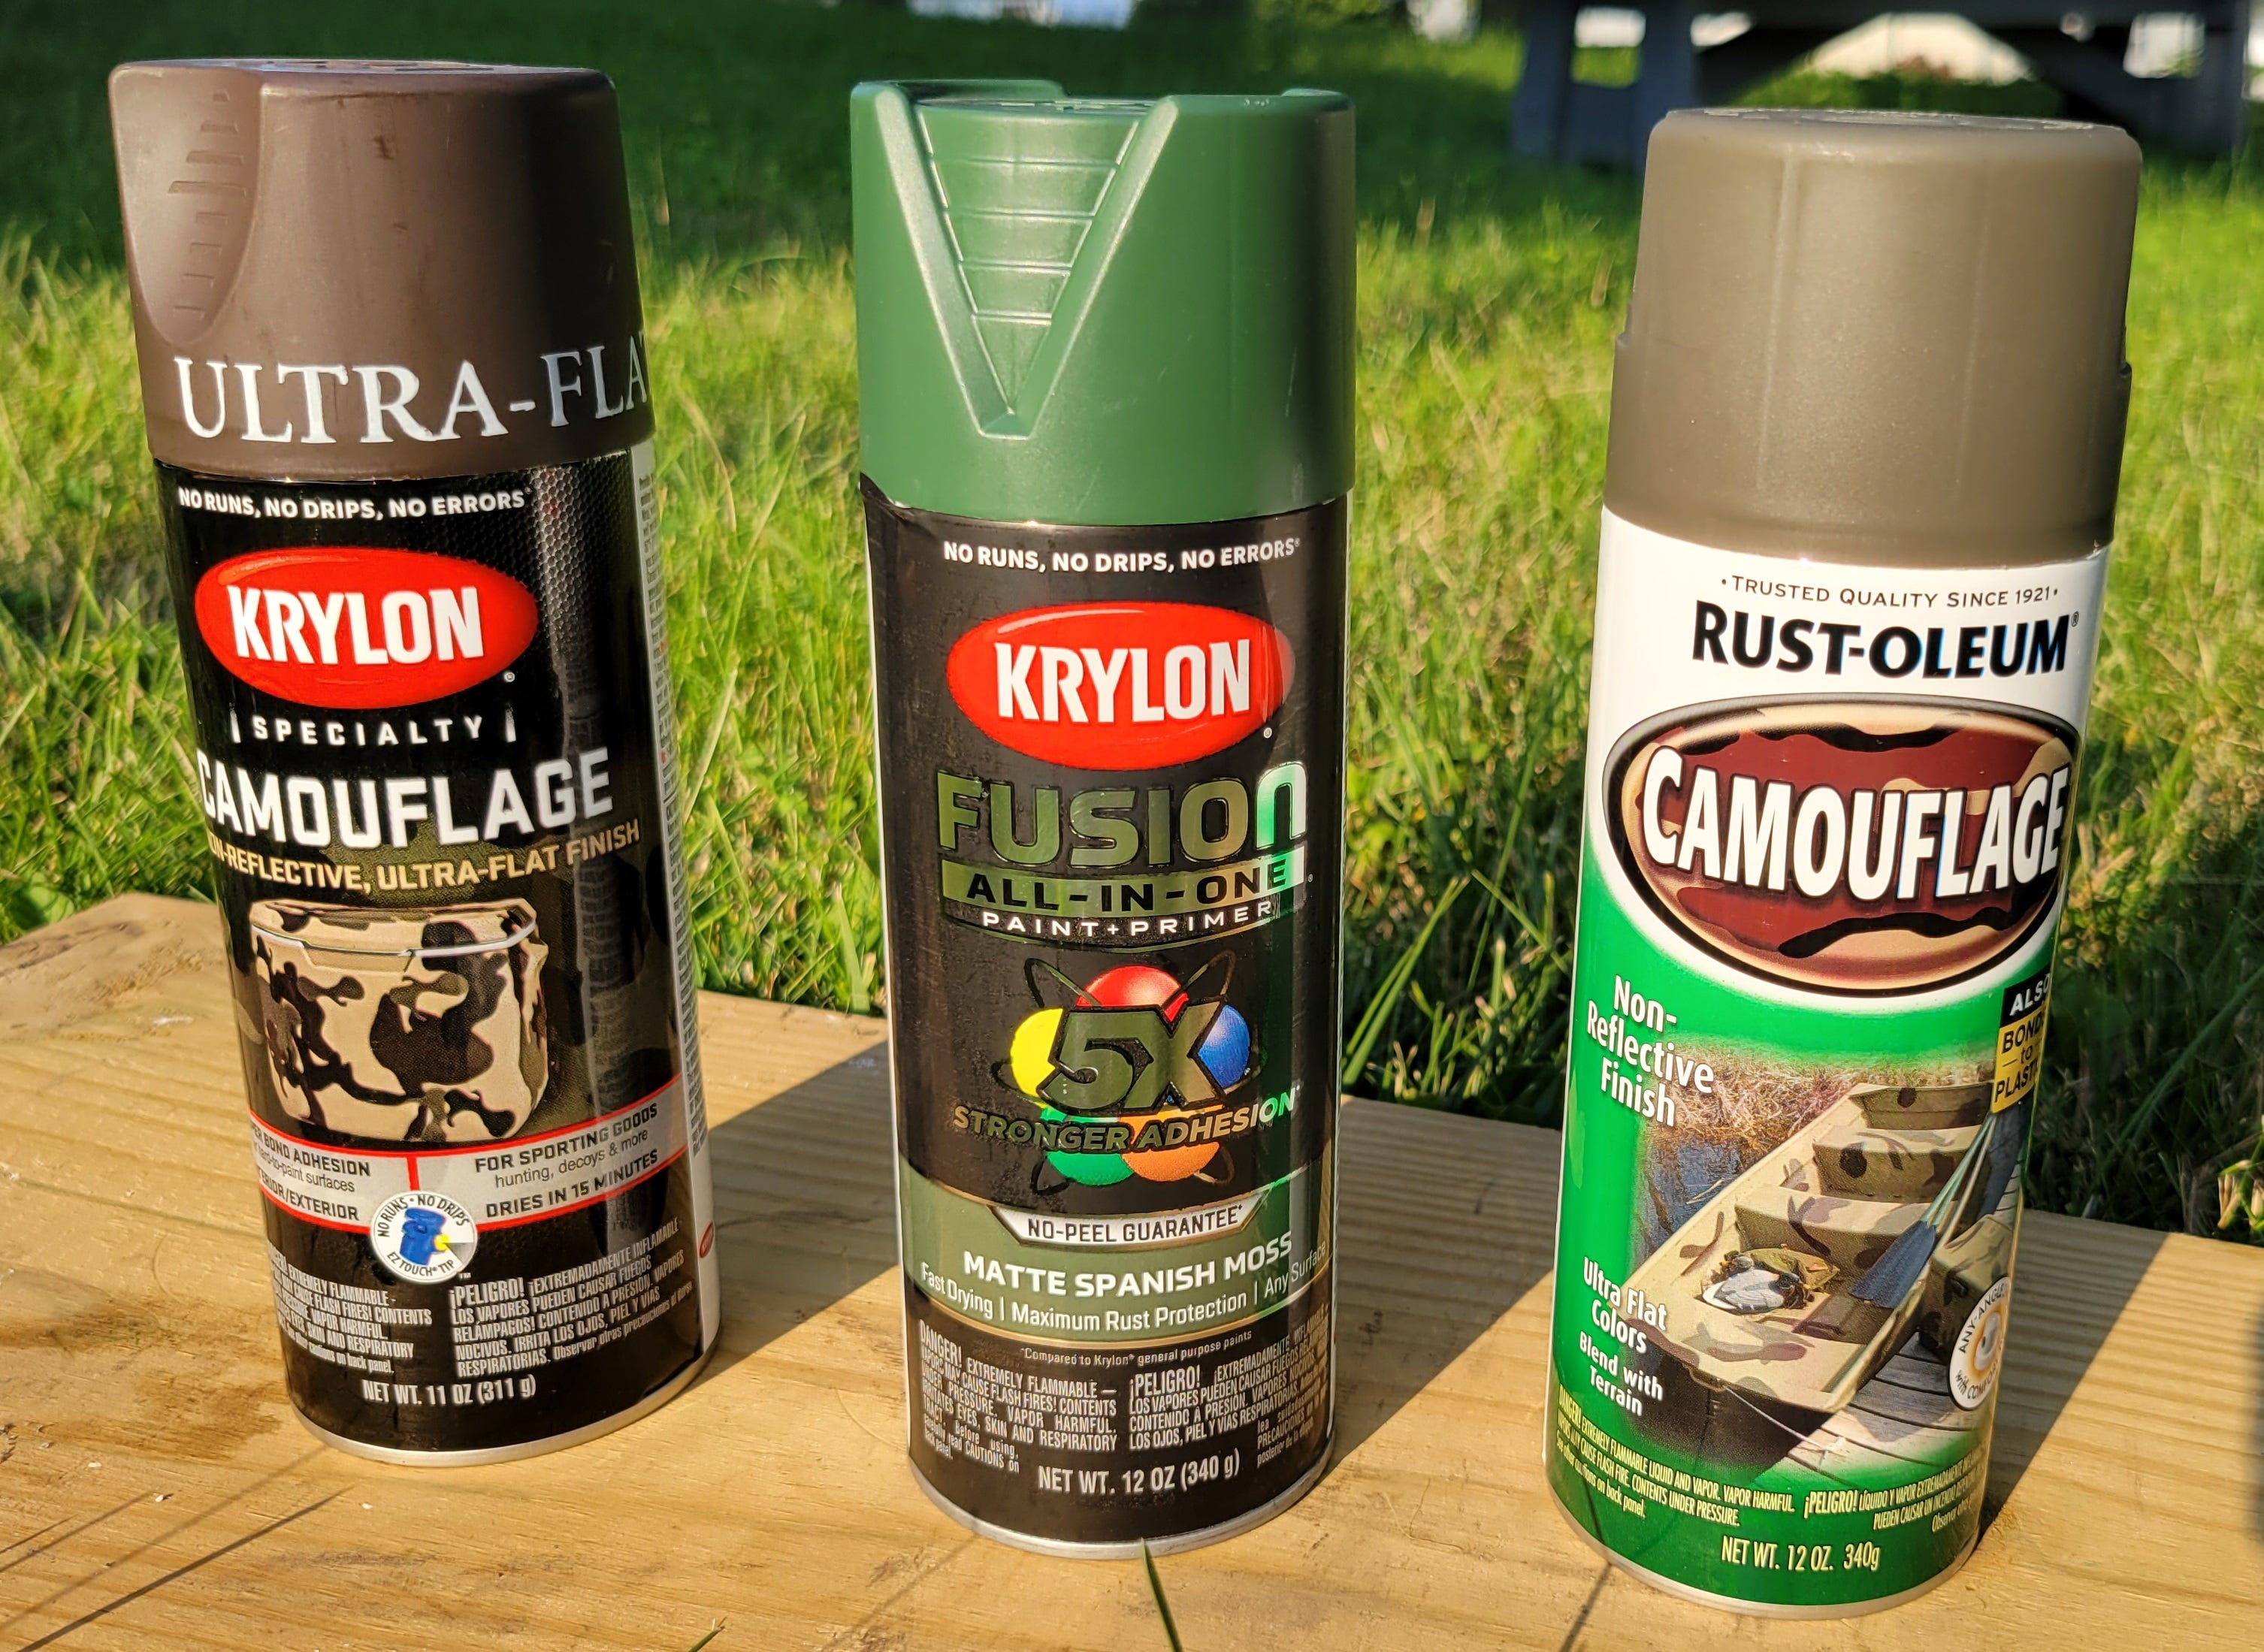
I performed some simple tests with common spray paints. I’ve always had the best results with Krylon Camoflage paints, but for this test I tried Rust-Oleum and Krylon Fusion as well. First I tried the Rust-Oleum on a plastic ammo can.
I’ve used Rust-Oleum for many projects in the past and while it worked well on metal it didn’t perform well on plastic, often attacking the plastic. Rust-Oleum usually took a long time to dry. Their new Camouflage paint has “Also Bonds to Plastic” in yellow and black on the front of the can so I was interested to see how it worked.
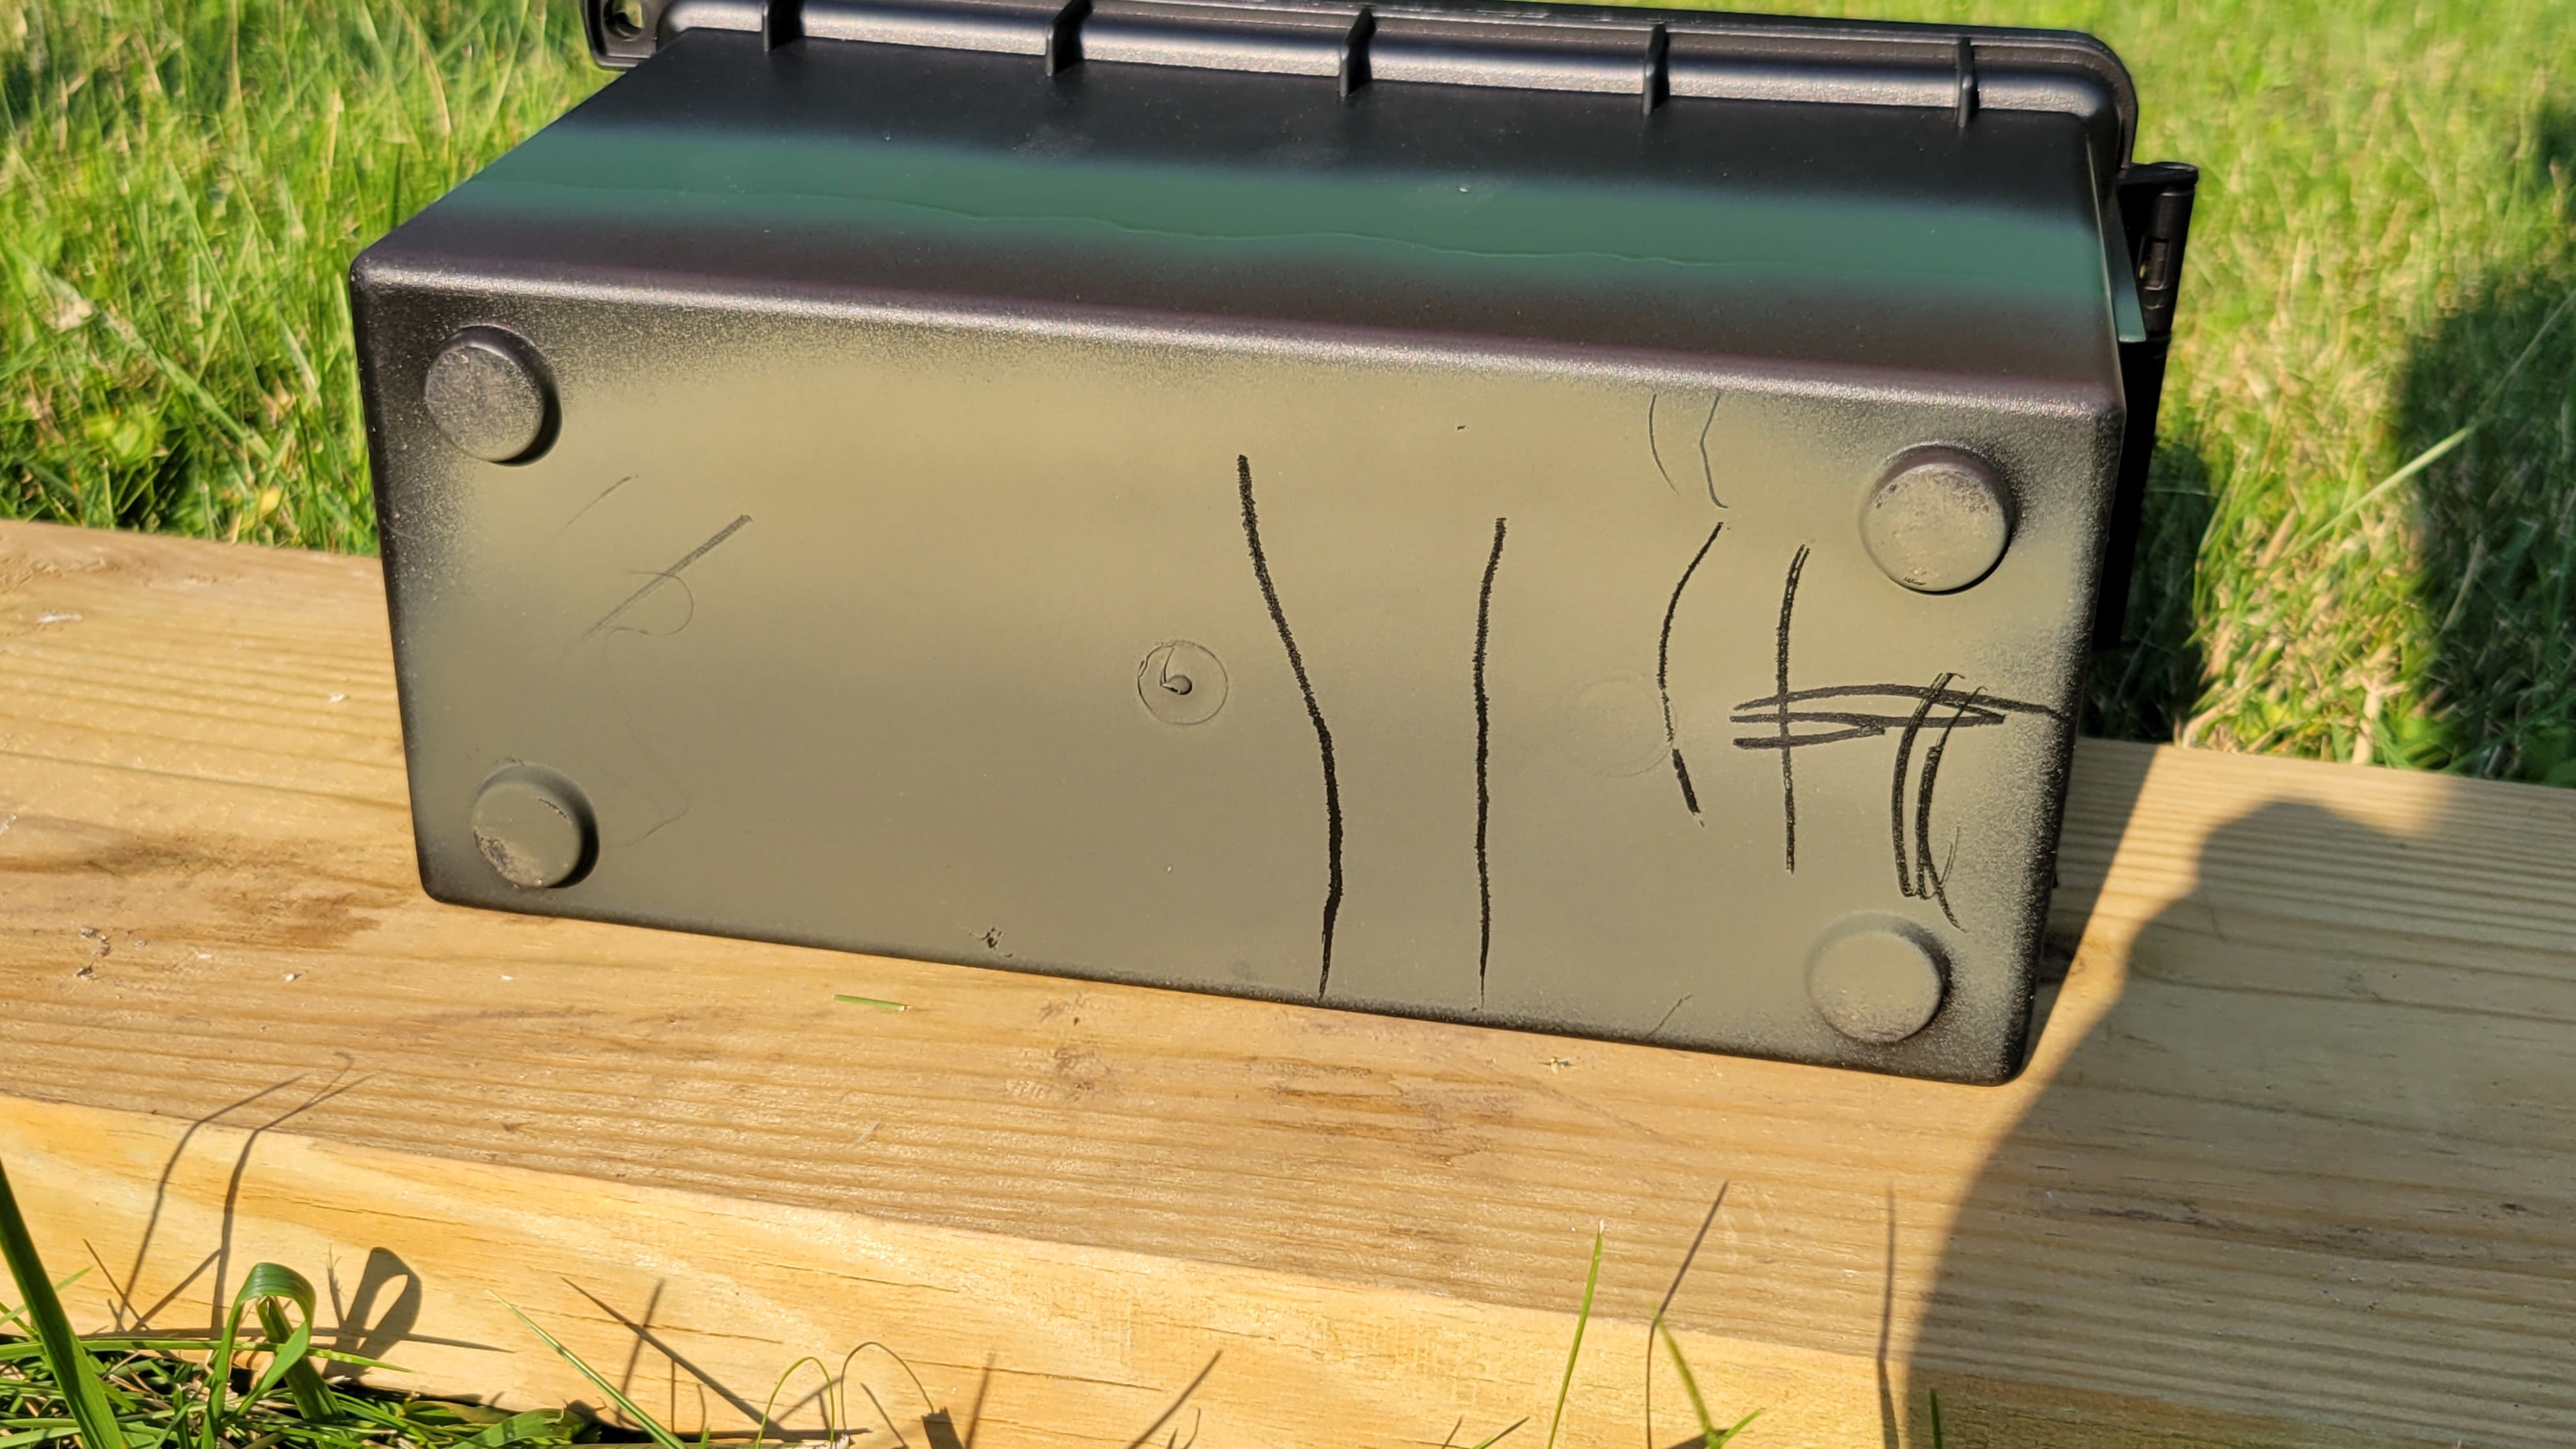
It sprayed nicely and was easy to control for a thin even layer of paint. It dried much faster than the Rust-Oleum gloss colors I’ve used in the past. Unfortunately, the black lines show how this paint failed. Scratching the paint with my fingernail easily removed the paint from the plastic container. The camouflage paint is easier to use than their other paints, but I will use it only on metal projects.
Krylon Camouflage paint has been my favorite for cache containers since I started geocaching. I couldn’t get flat olive drab green locally so I tried their Fusion paint for a flat green.
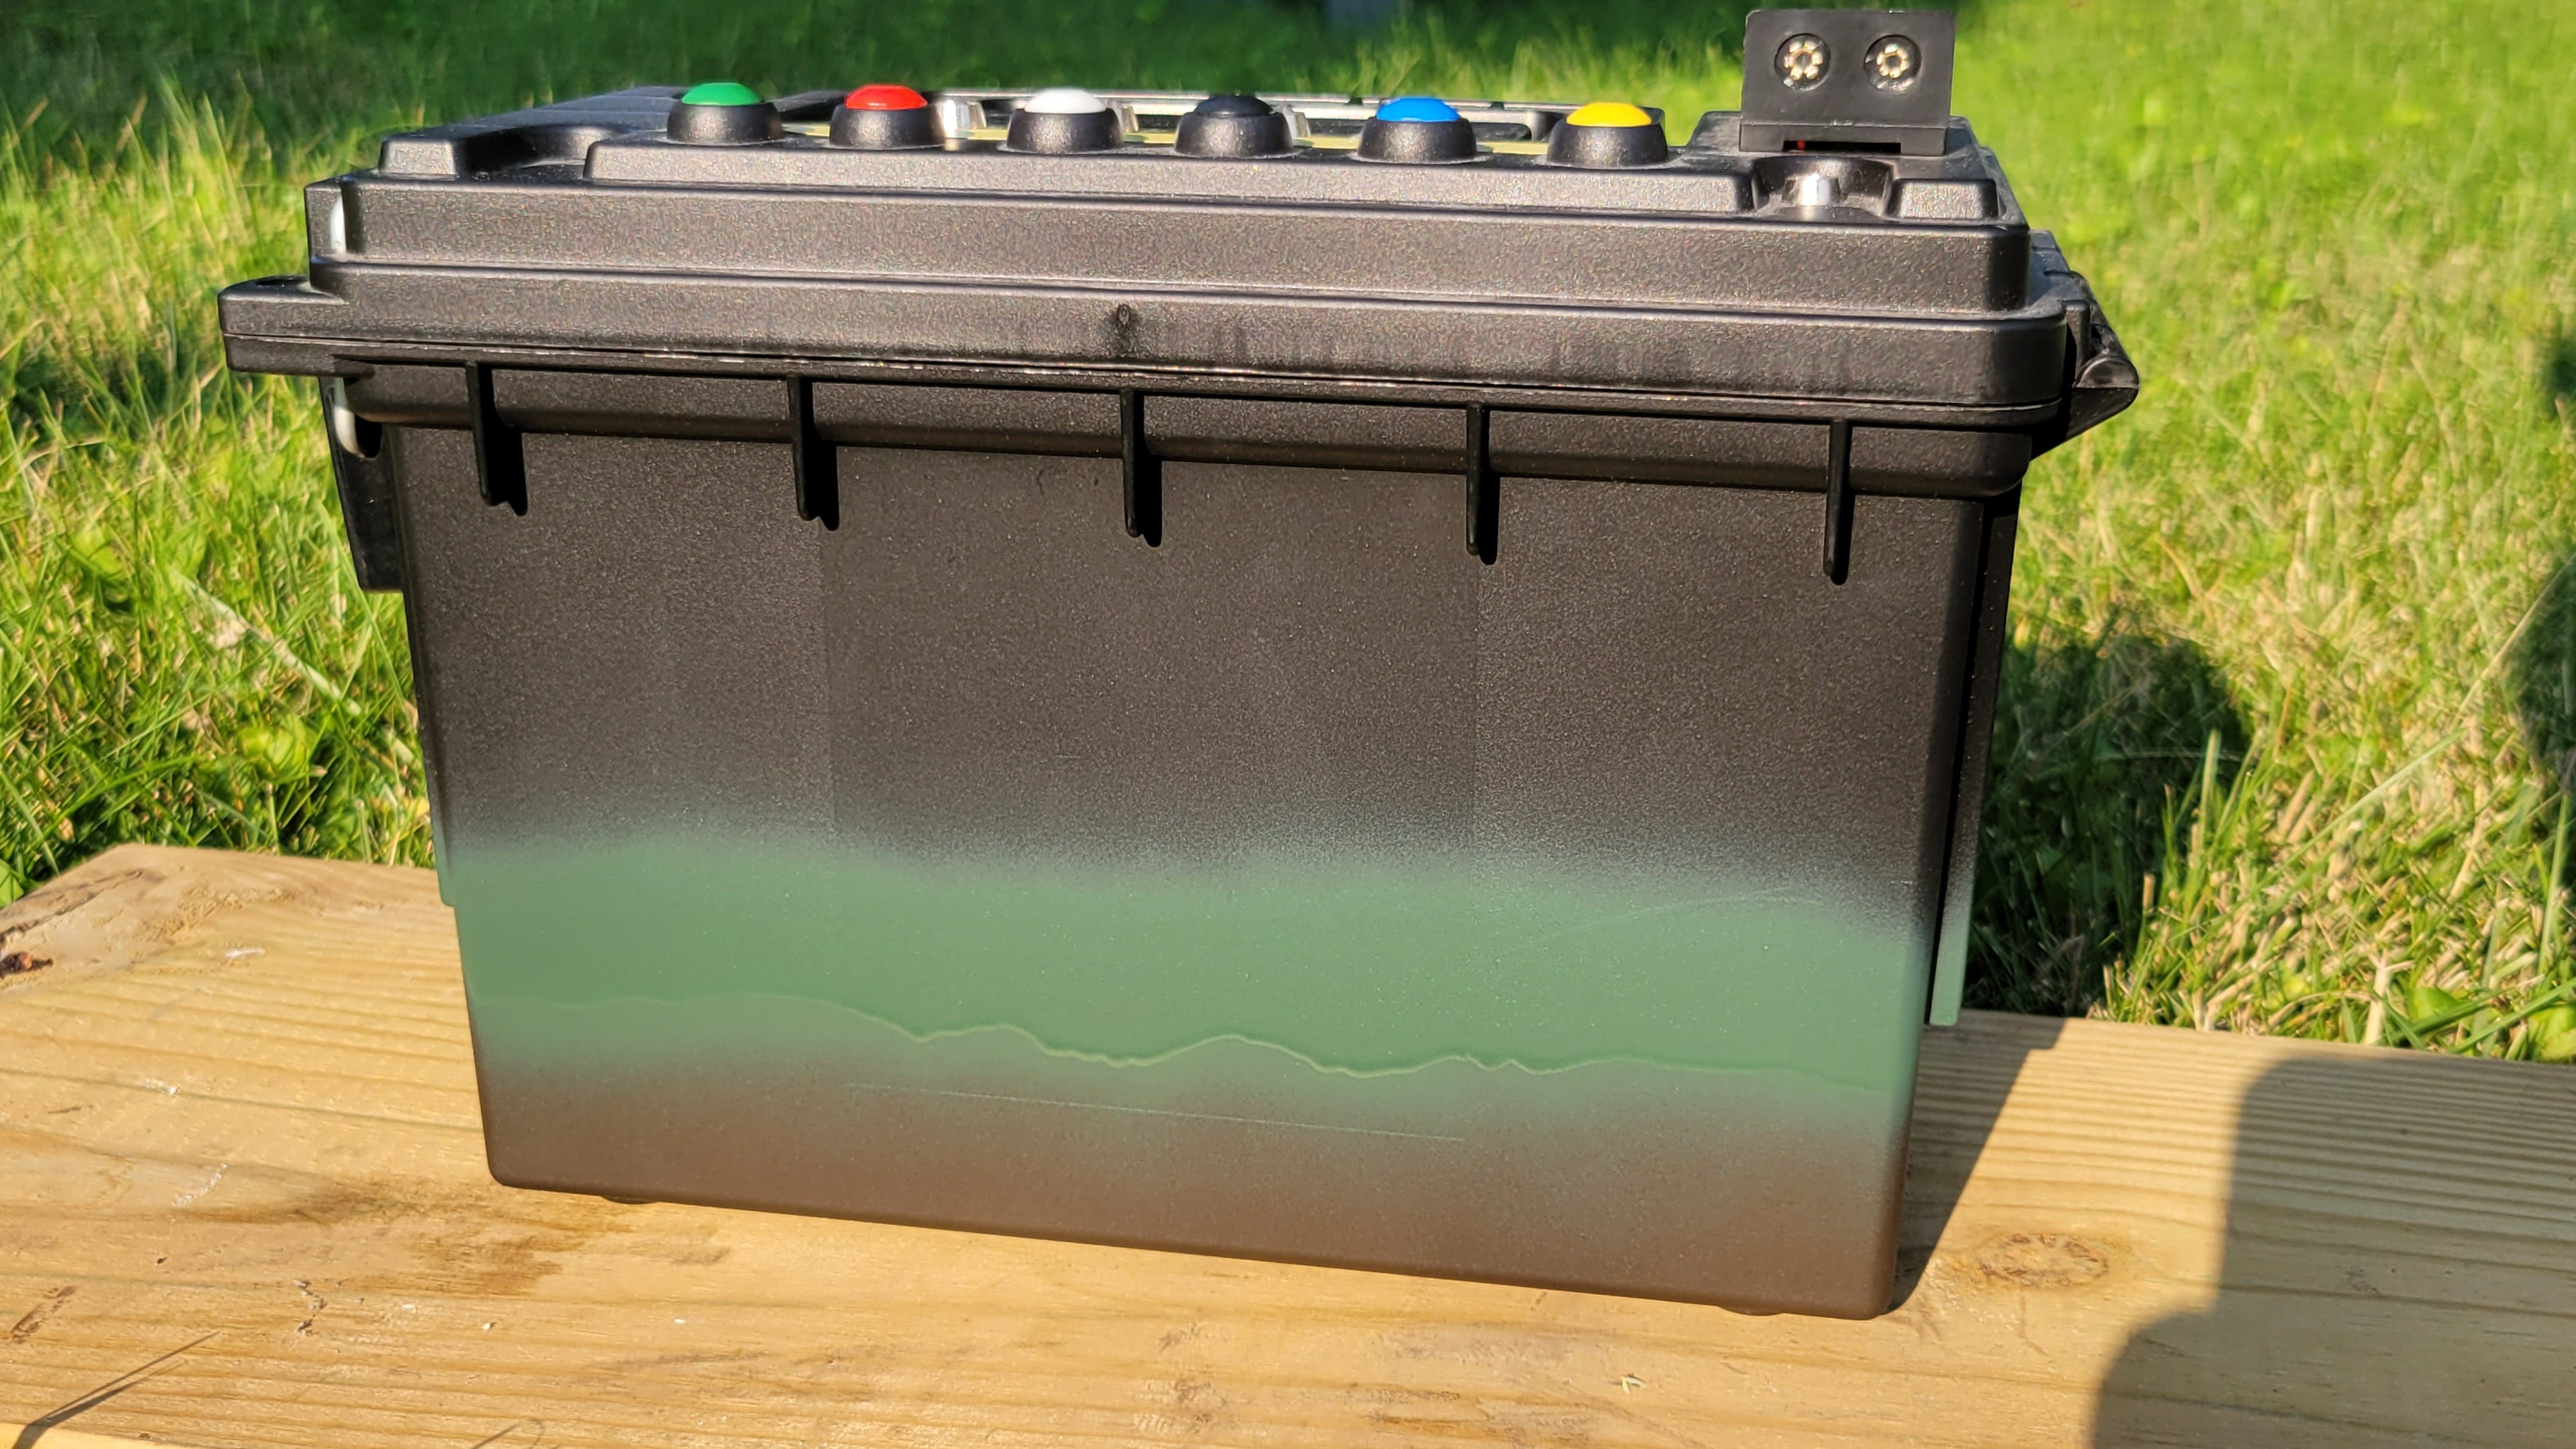
The bottom of this test container has a band of Krylon Camouflage brown, and above that a band of the Fusion green. Both sprayed well and dried quickly. The Fusion sprayed a heavier coat and gave runs with the technique that worked well using the ultra-flat camouflage paint. If using the Fusion colors, back up more and move side to side faster. I think the paint is fine, it just takes a different technique. These colors didn’t scratch off the plastic. I recommend sticking with the Krylon paints for plastic containers.
Step 2 - Surface Prep
No matter how good the paint is, it won’t work well if the surface isn’t ready for paint.
The surface must be clean
Remove any decals and their adhesive
Sanding to reduce the gloss of shiny surfaces works well
Consider a primer before the topcoat on bare metal or other conditions where the paint may need help adhering.
Use proper personal protective equipment (PPE) since prep and painting may invlove heat, solvents, or sharp objects.
As an example, let’s take a new Harbor Freight metal ammo can through prep to paint.
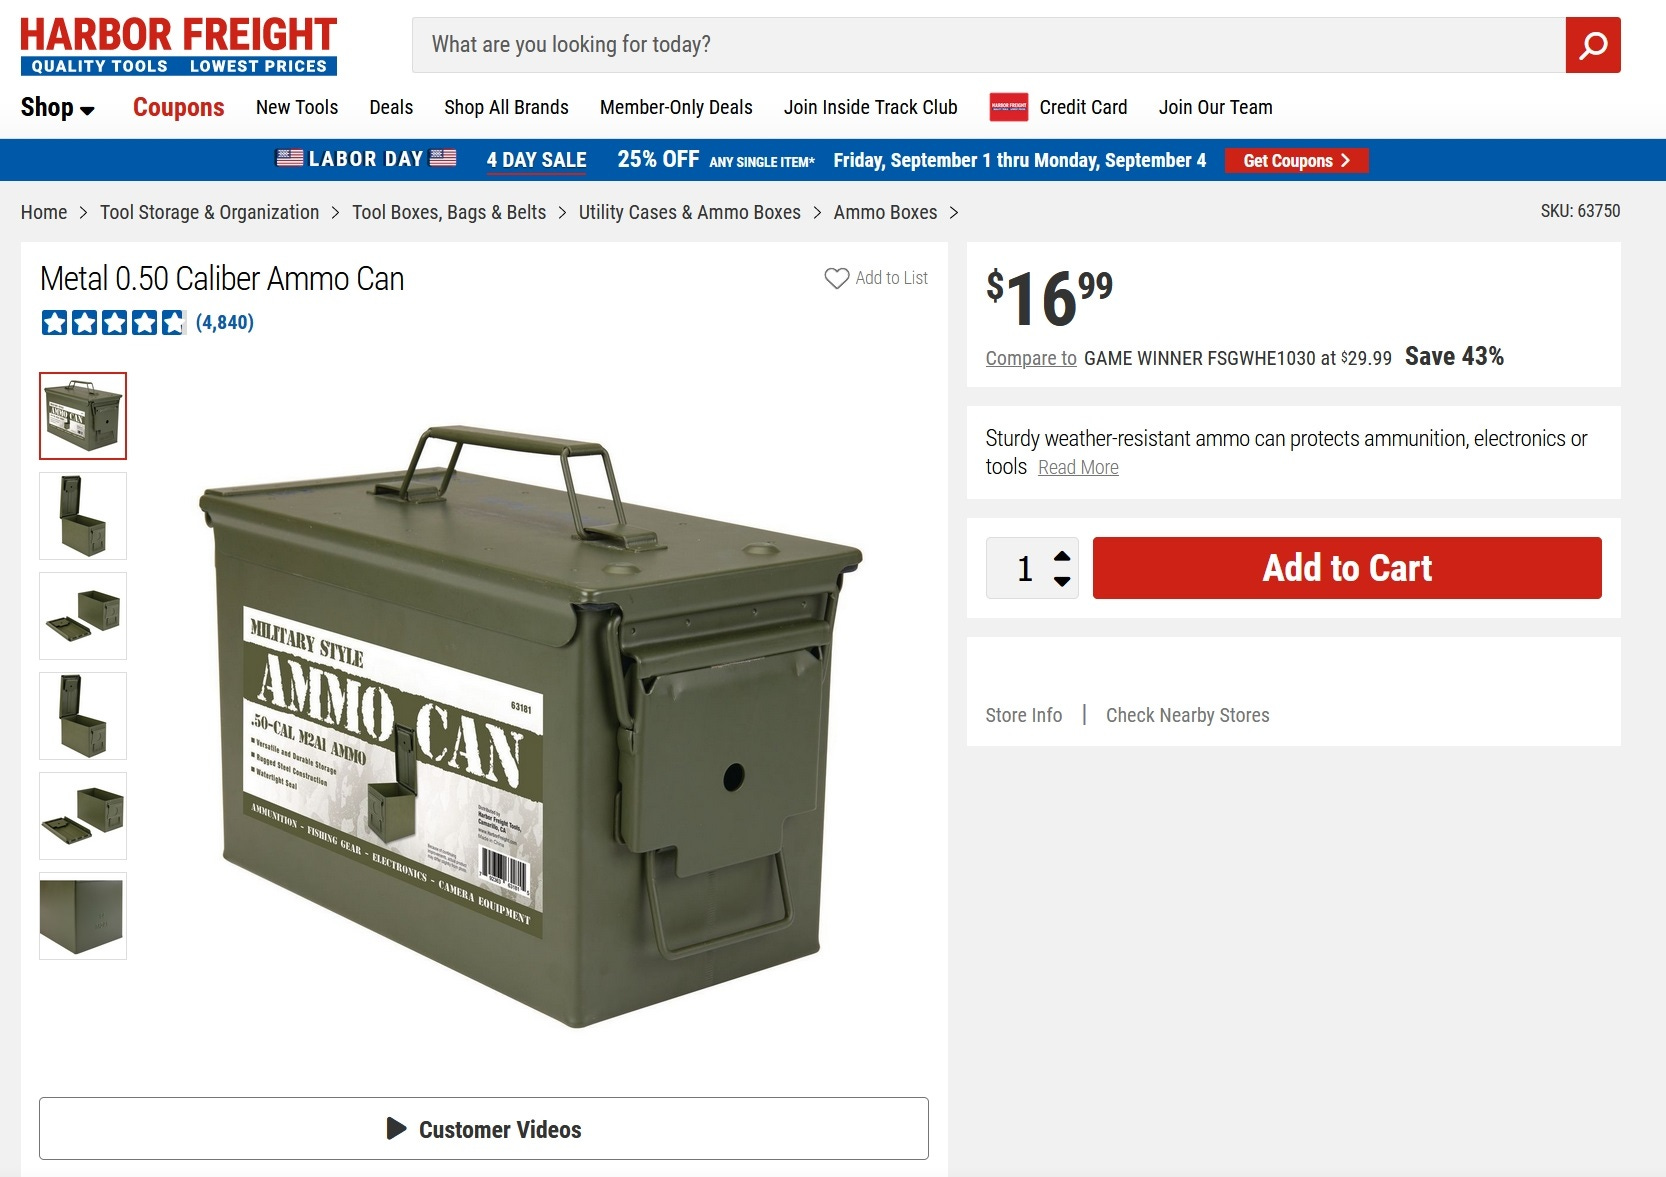
Before painting, that large decal on the side needs to come off. Since that sticker is intended to be removed, it should be attached with a light duty adhesive - but not at Harbor Freight. That sticker is on there with some kind of industrial adhesive that does not want to come off. After many tests with razor blades and solvents, I found that the best way to remove this decal is with a heat gun and a razor blade.

Using heat and protecting my hands as I peeled the label back I was able to remove the paper in mostly one piece. It still took some scraping with a razor blade to remove the rest. You can see that this sticker removal leaves the adhesive behind. I have not found any cleaners that remove this adhesive. Solvent based Goof Off softened it but still left a sticky mess. Lacquer thinner is the only solvent I’ve found that removes the adhesive cleanly. Please find out the PPE for your chemicals before starting work! I wiped the entire can with the thinner to remove any oils or stray adhesive. The flat green paint on the can makes a good base so I was ready to paint.
Important - If using military surplus ammo cans make sure you remove or paint over any military markings!
I’ve nearly reached the limit for article length getting the ammo can ready for paint. Next time I’ll show the camo painting process from making stencils to the finished result.
If you like what you see please pass it along.