


Last week’s article covered paint choices and the prep process. This week we paint.
Step 3 - Paint
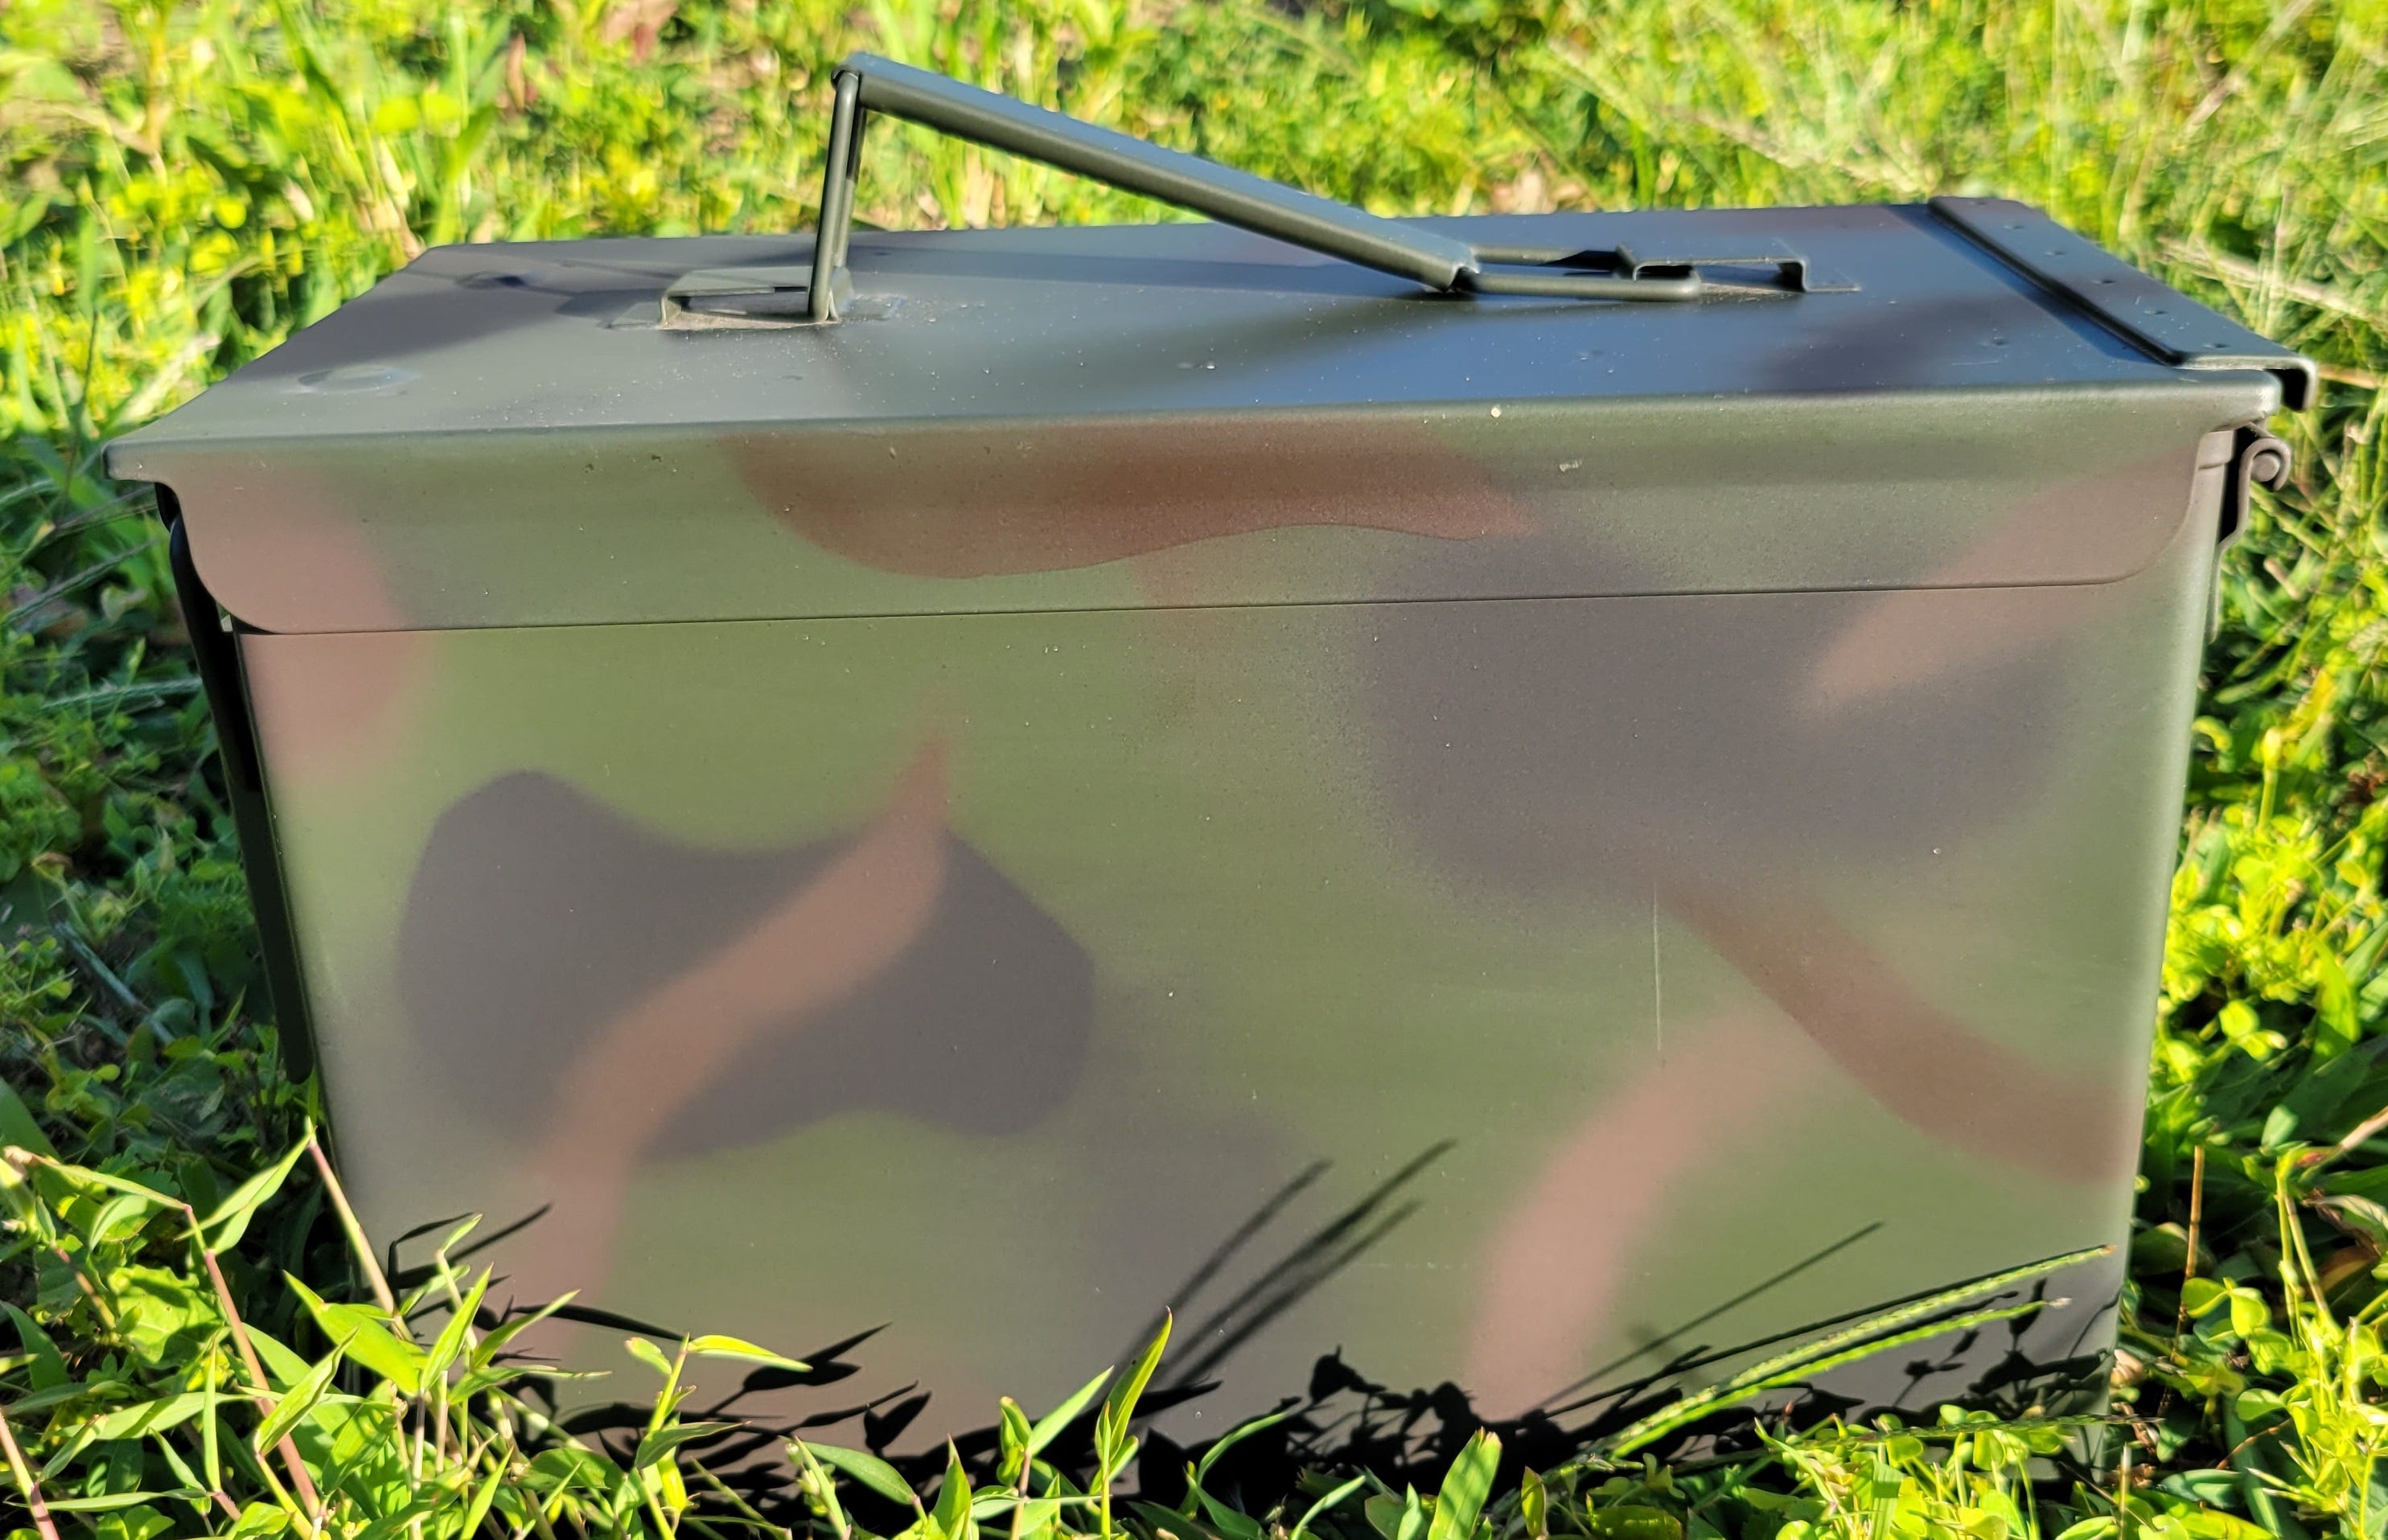
I try to paint my containers to break up their outline with disruptive coloration, using soft edges and colors that overlap the edges of the container. I have not tried dazzle camouflage yet.
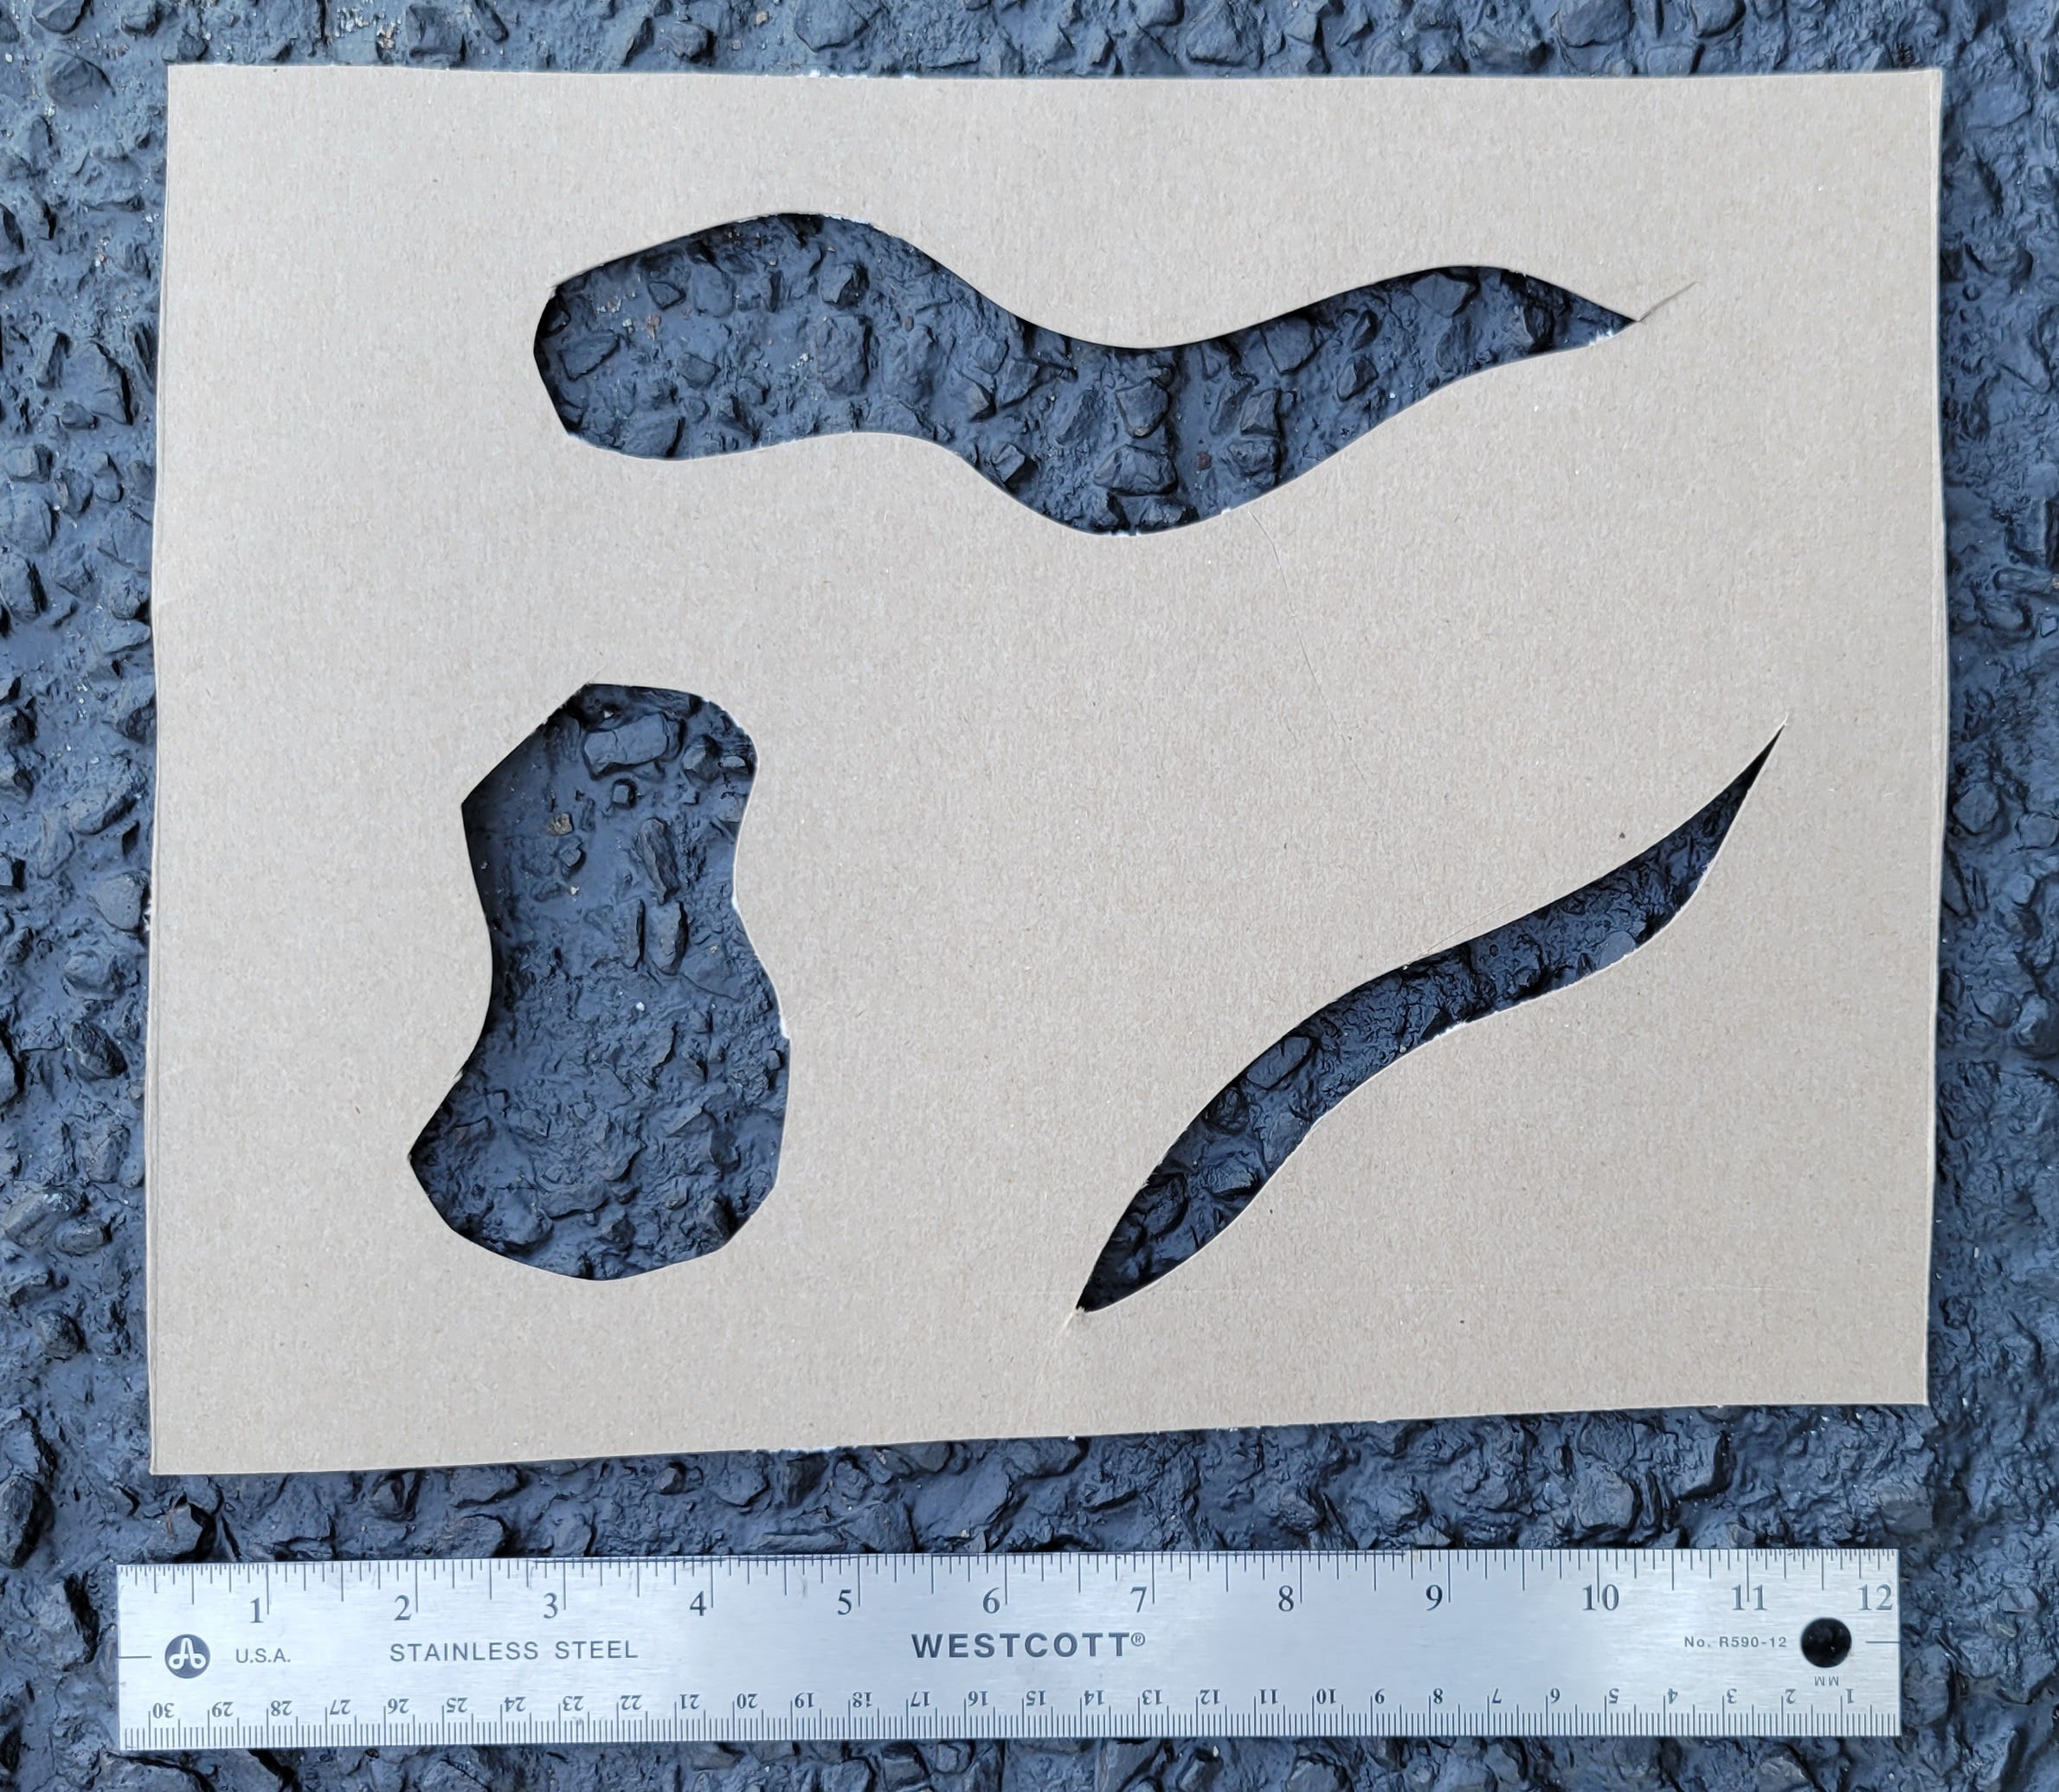
I start by making a stencil with a few different random shapes cut out. Pick cardboard that is stiff enough not to flex when spraying paint over it. A small craft or utility knife works well for the random shapes.
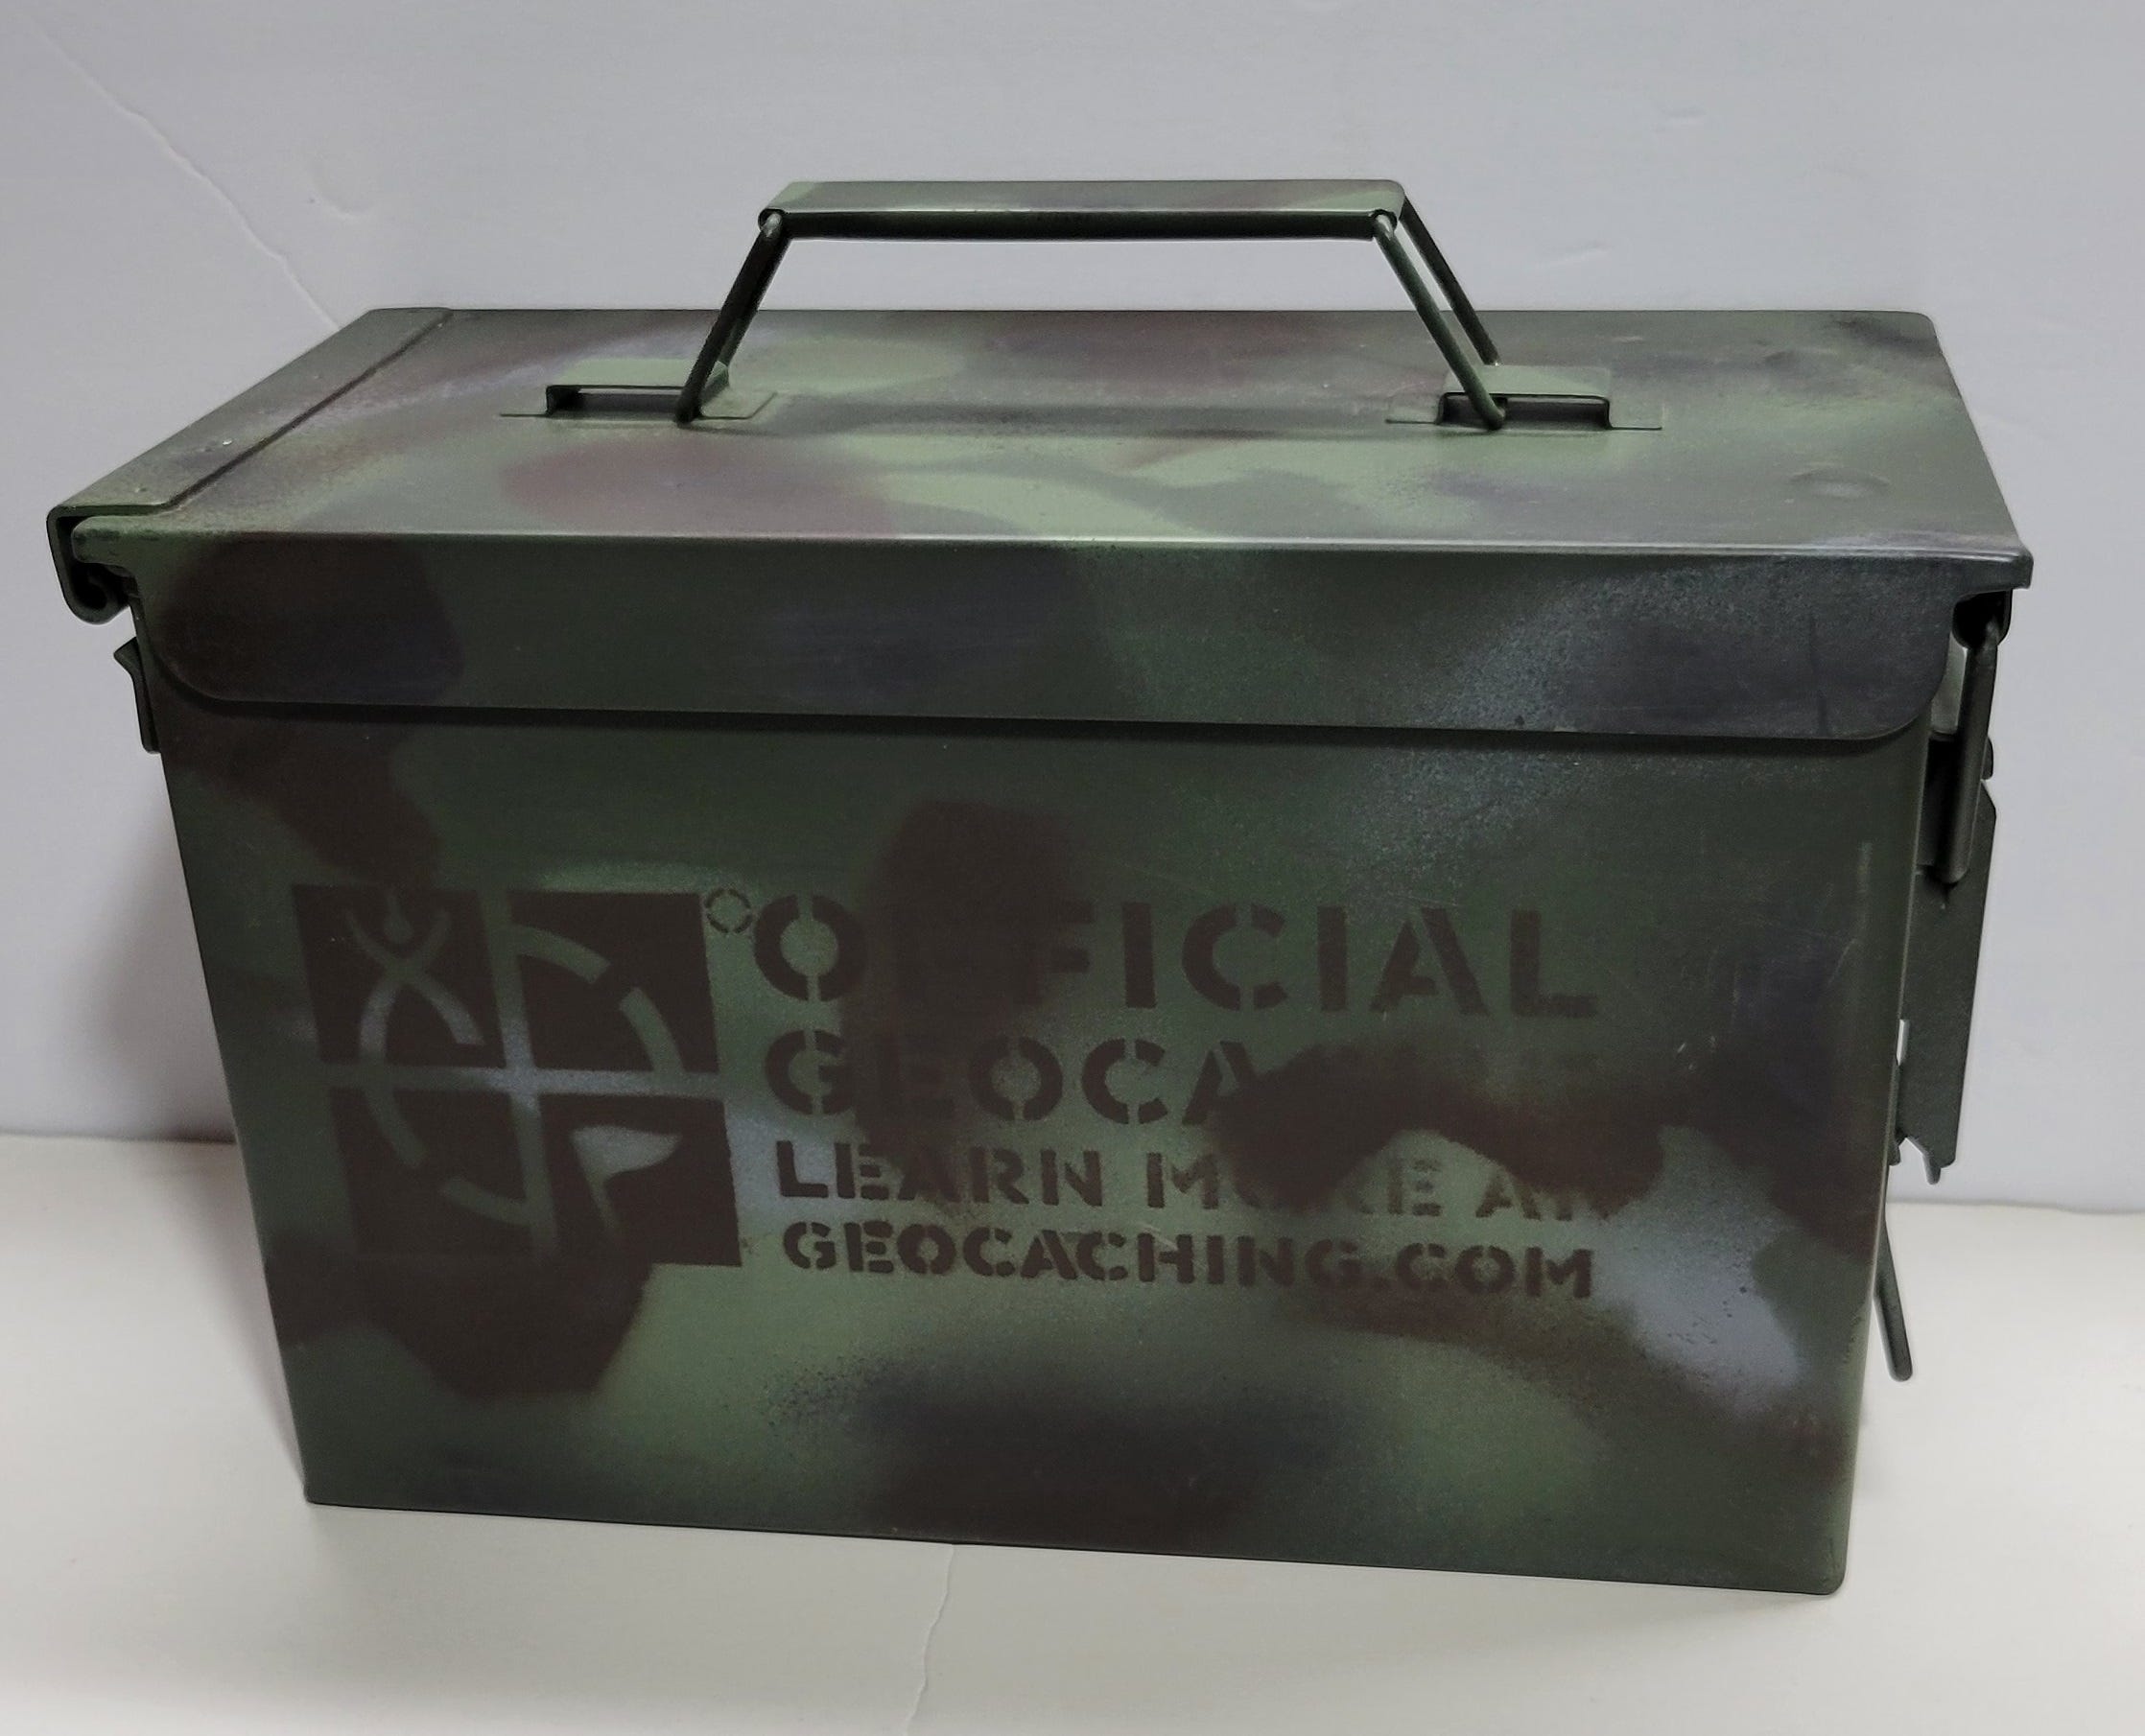
Most of the time stencils are held tight against the surface to be painted to get a sharply defined paint edge, like the stenciled words on the ammo can in the lead photo. I don’t like hard edges for camouflage as they look more man-made than natural when the colors don’t blend. This is the result when holding the stencil tight on the can.
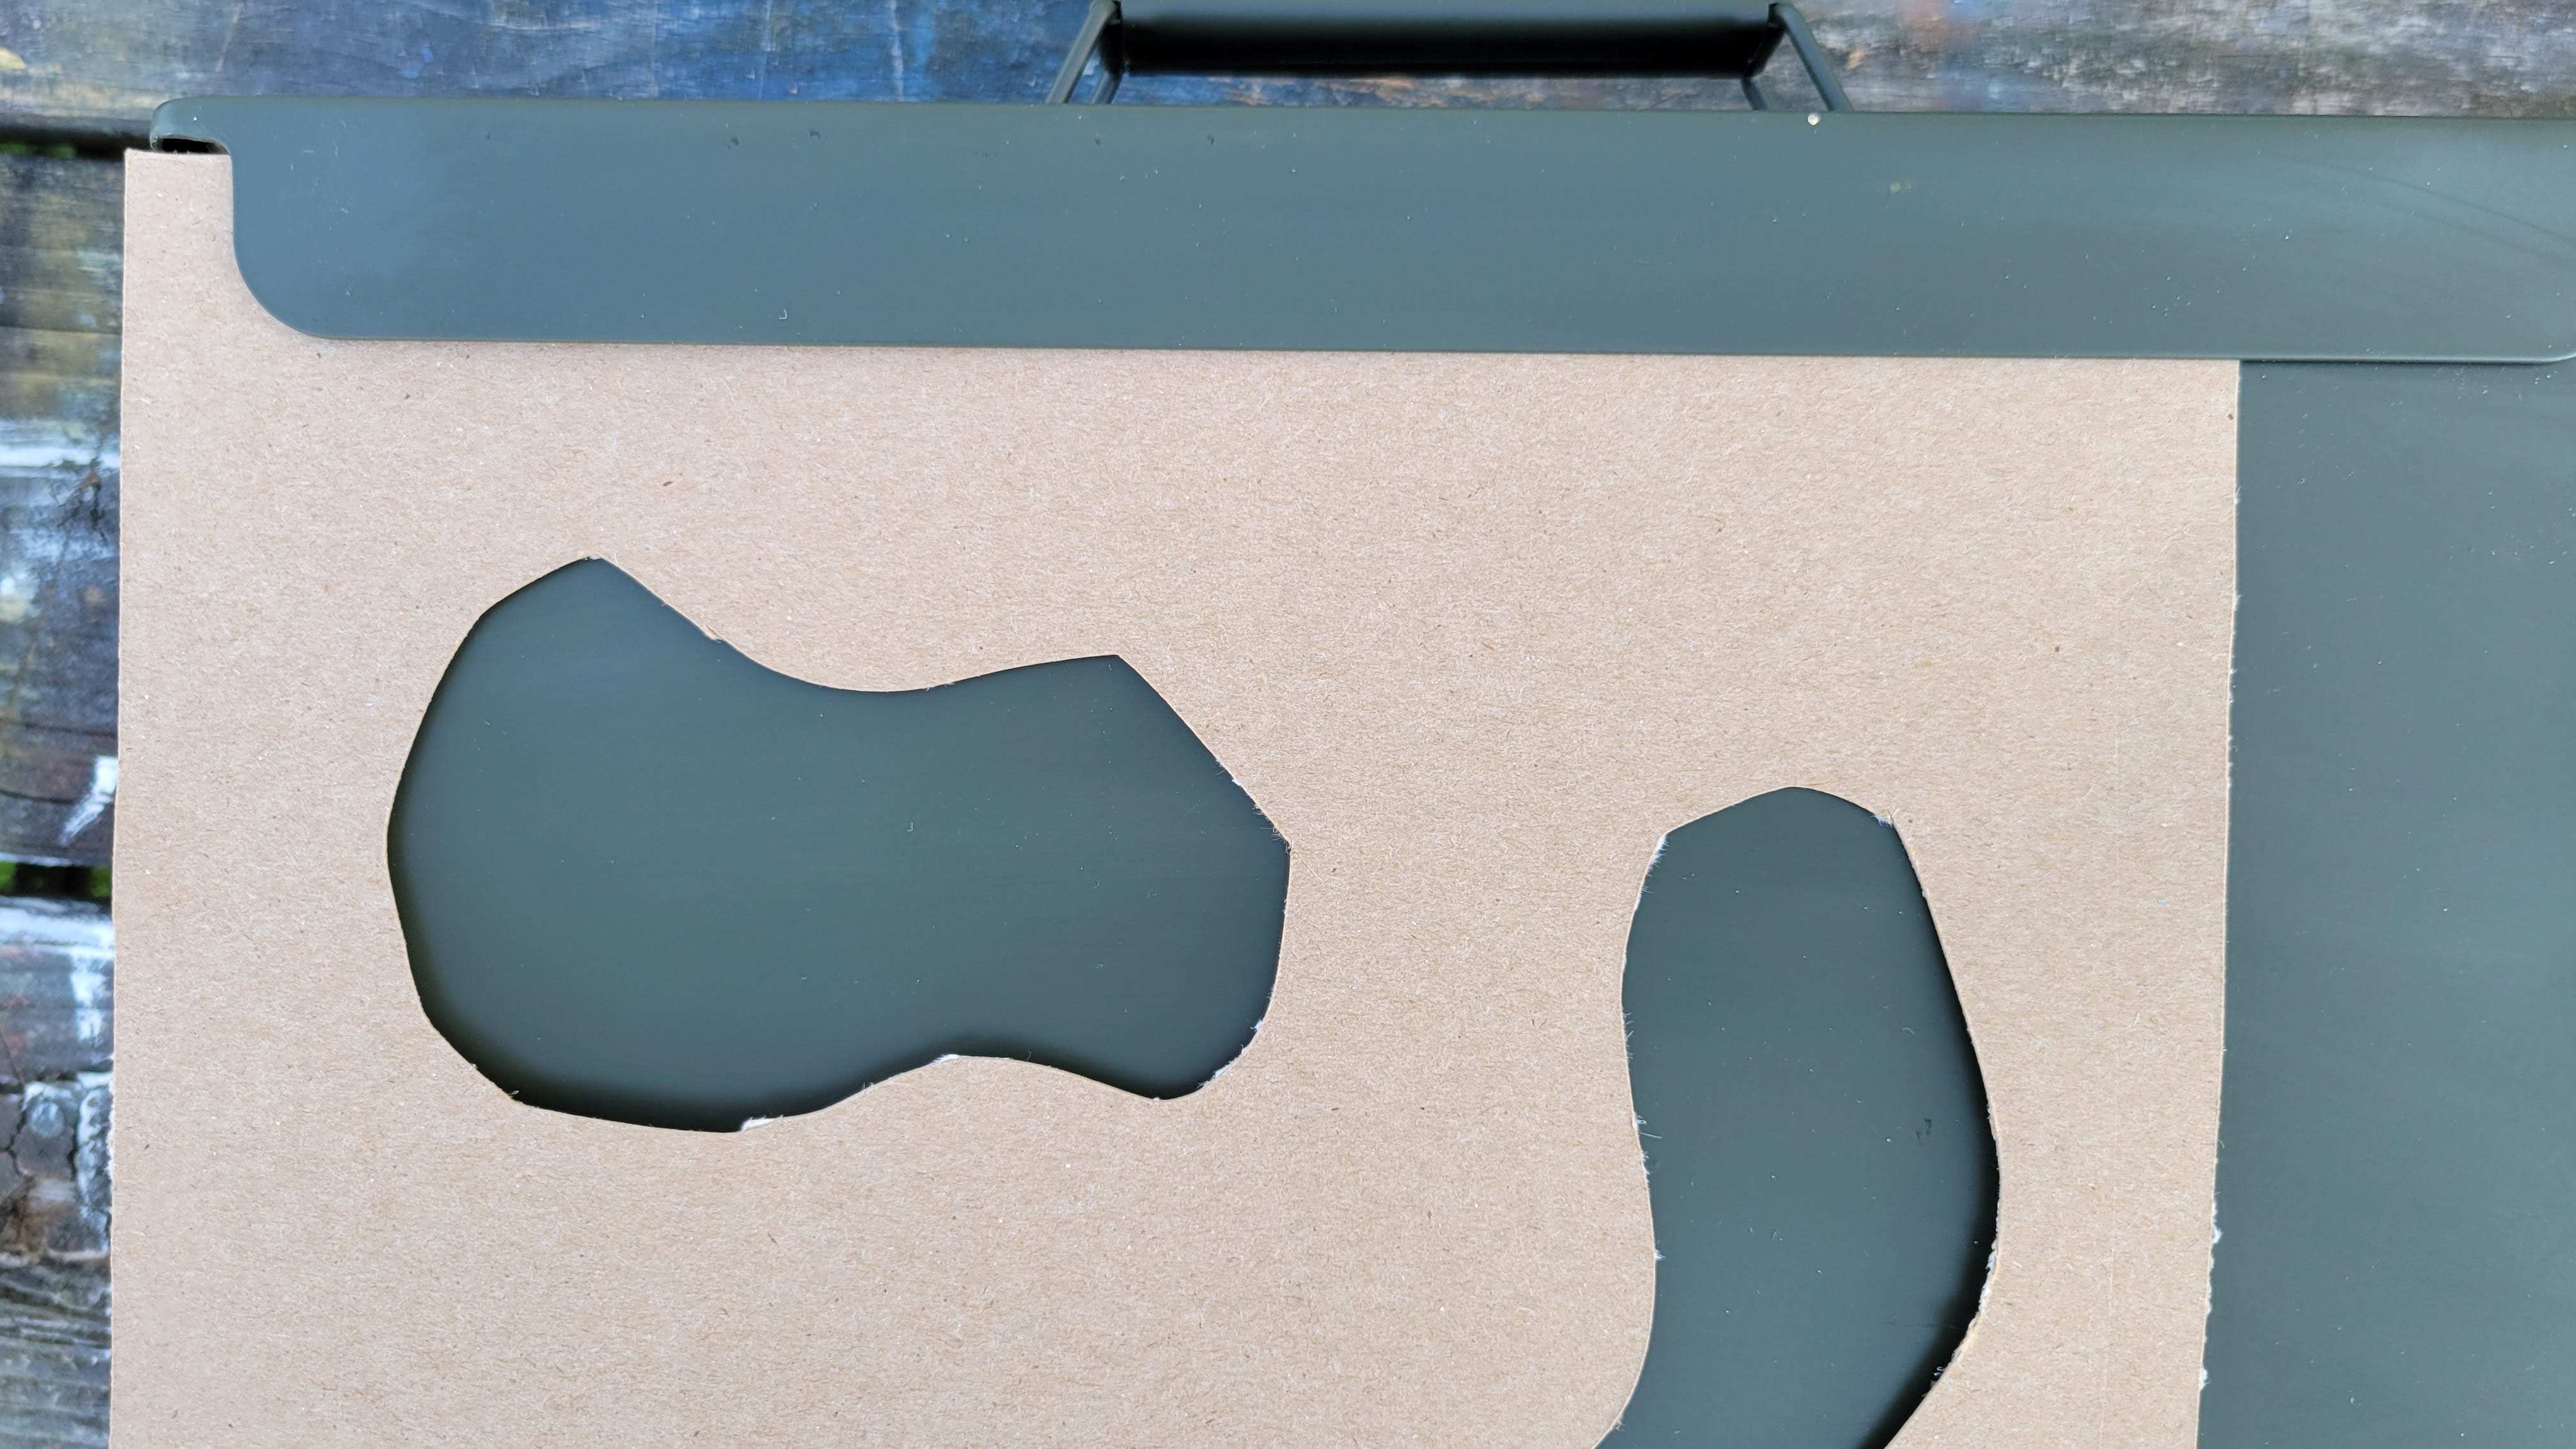
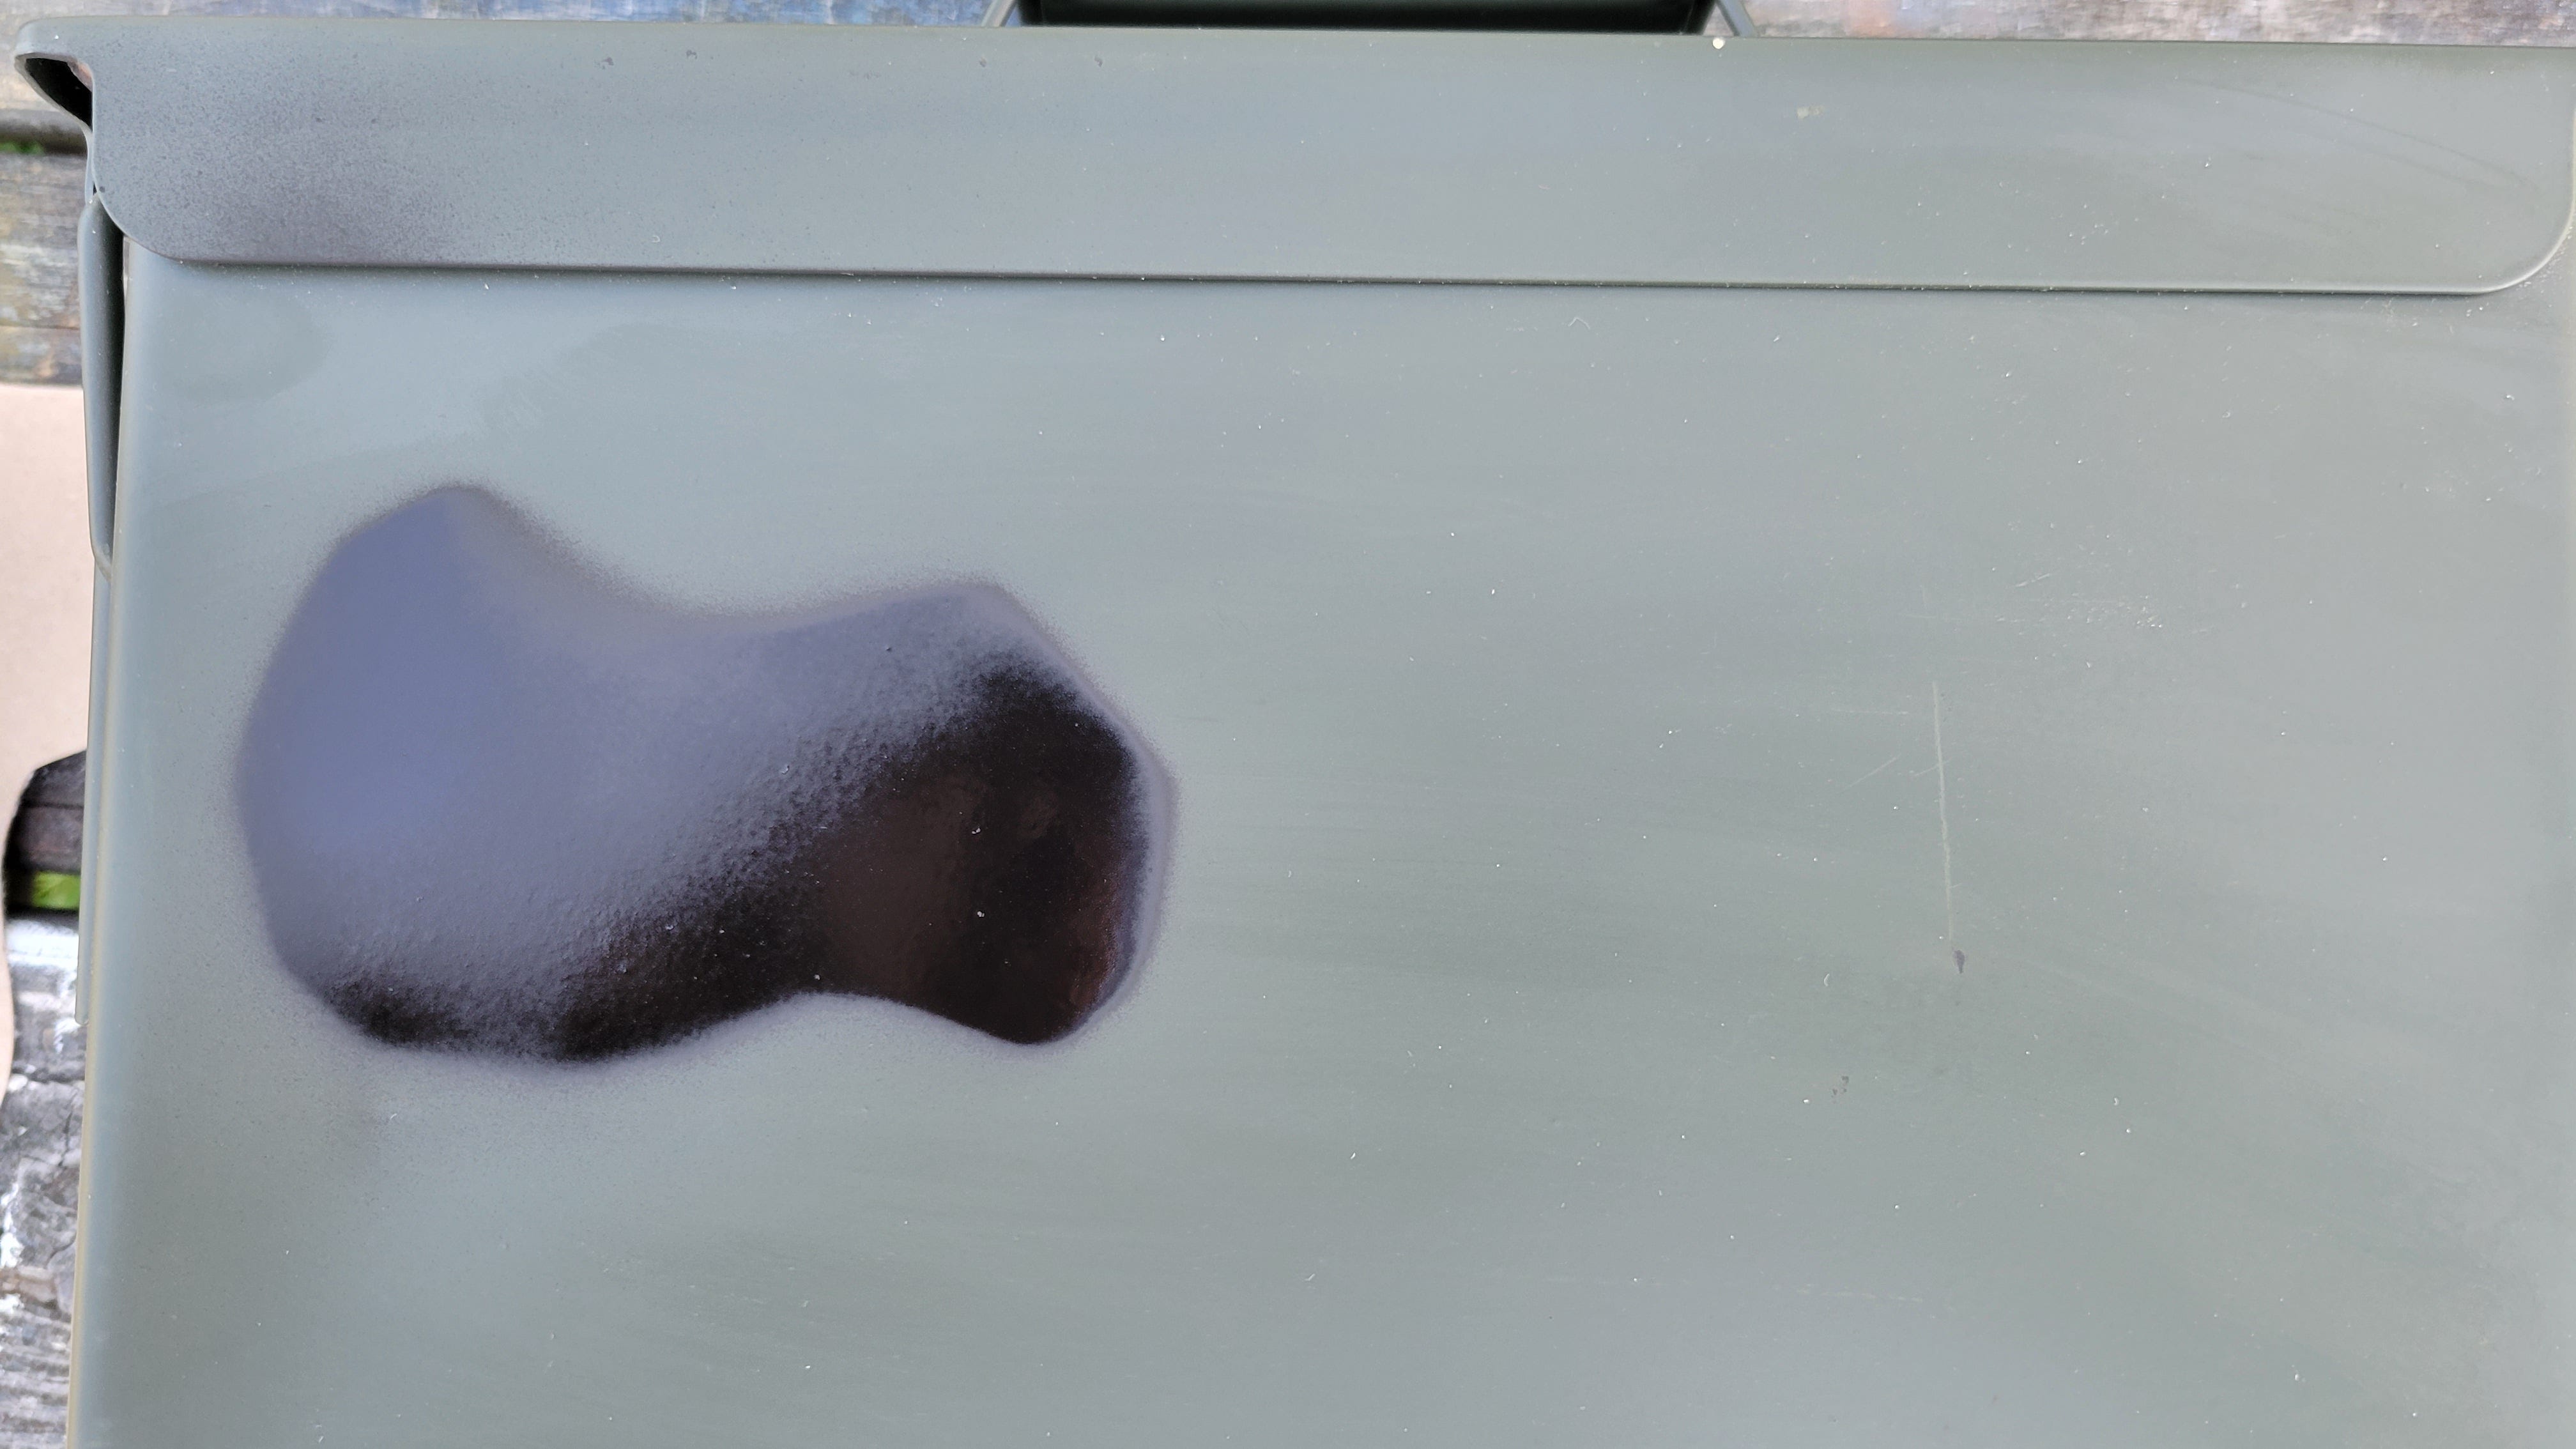
Instead, hold the stencil a few inches away from the can when painting. Stencil directly on the can in the following image is area (A). Holding the stencil an inch or two away from the can will give a soft outline (B). More than a few inches from the can gives a very soft edge that doesn’t look like it was stenciled at all (C).
Since I don’t want alll the spots to look the same, I often use only part of a stencil shape. I do this by having the stencil overlap the edge of the can, or by only painting part of the shape.
Once I finish the first color (black for this project) I switch colors and do the process again. I chose brown for the second color. Note the different shapes and styles possible from just the three holes in the stencil card. Options beyond simple stencils are painting over actual leaves or grass as masks, spraying freehand, or painting with a brush. Use your imagination to make your container fit in or stand out as needed.
Finish the project by clearly labeling the container as a geocache. Some hides don’t allow labeling, but I try to do so whenever possible. You can use paint pens as I did on my What Smells? cache. Most of the time I use a plastic stencil I bought at geocaching headquarters in Seattle. You can see a good photo of the stencilled logo in the Wi-Fi In the Woods build.
The techniques discussed here can be used in more ways than just camouflage. Stencils can be used to simulate scientific equipment, spy tools, or just to match the surroundings. Cache containers can be made to fit in or to stand out. Here are some examples where camouflage is not the intended result.
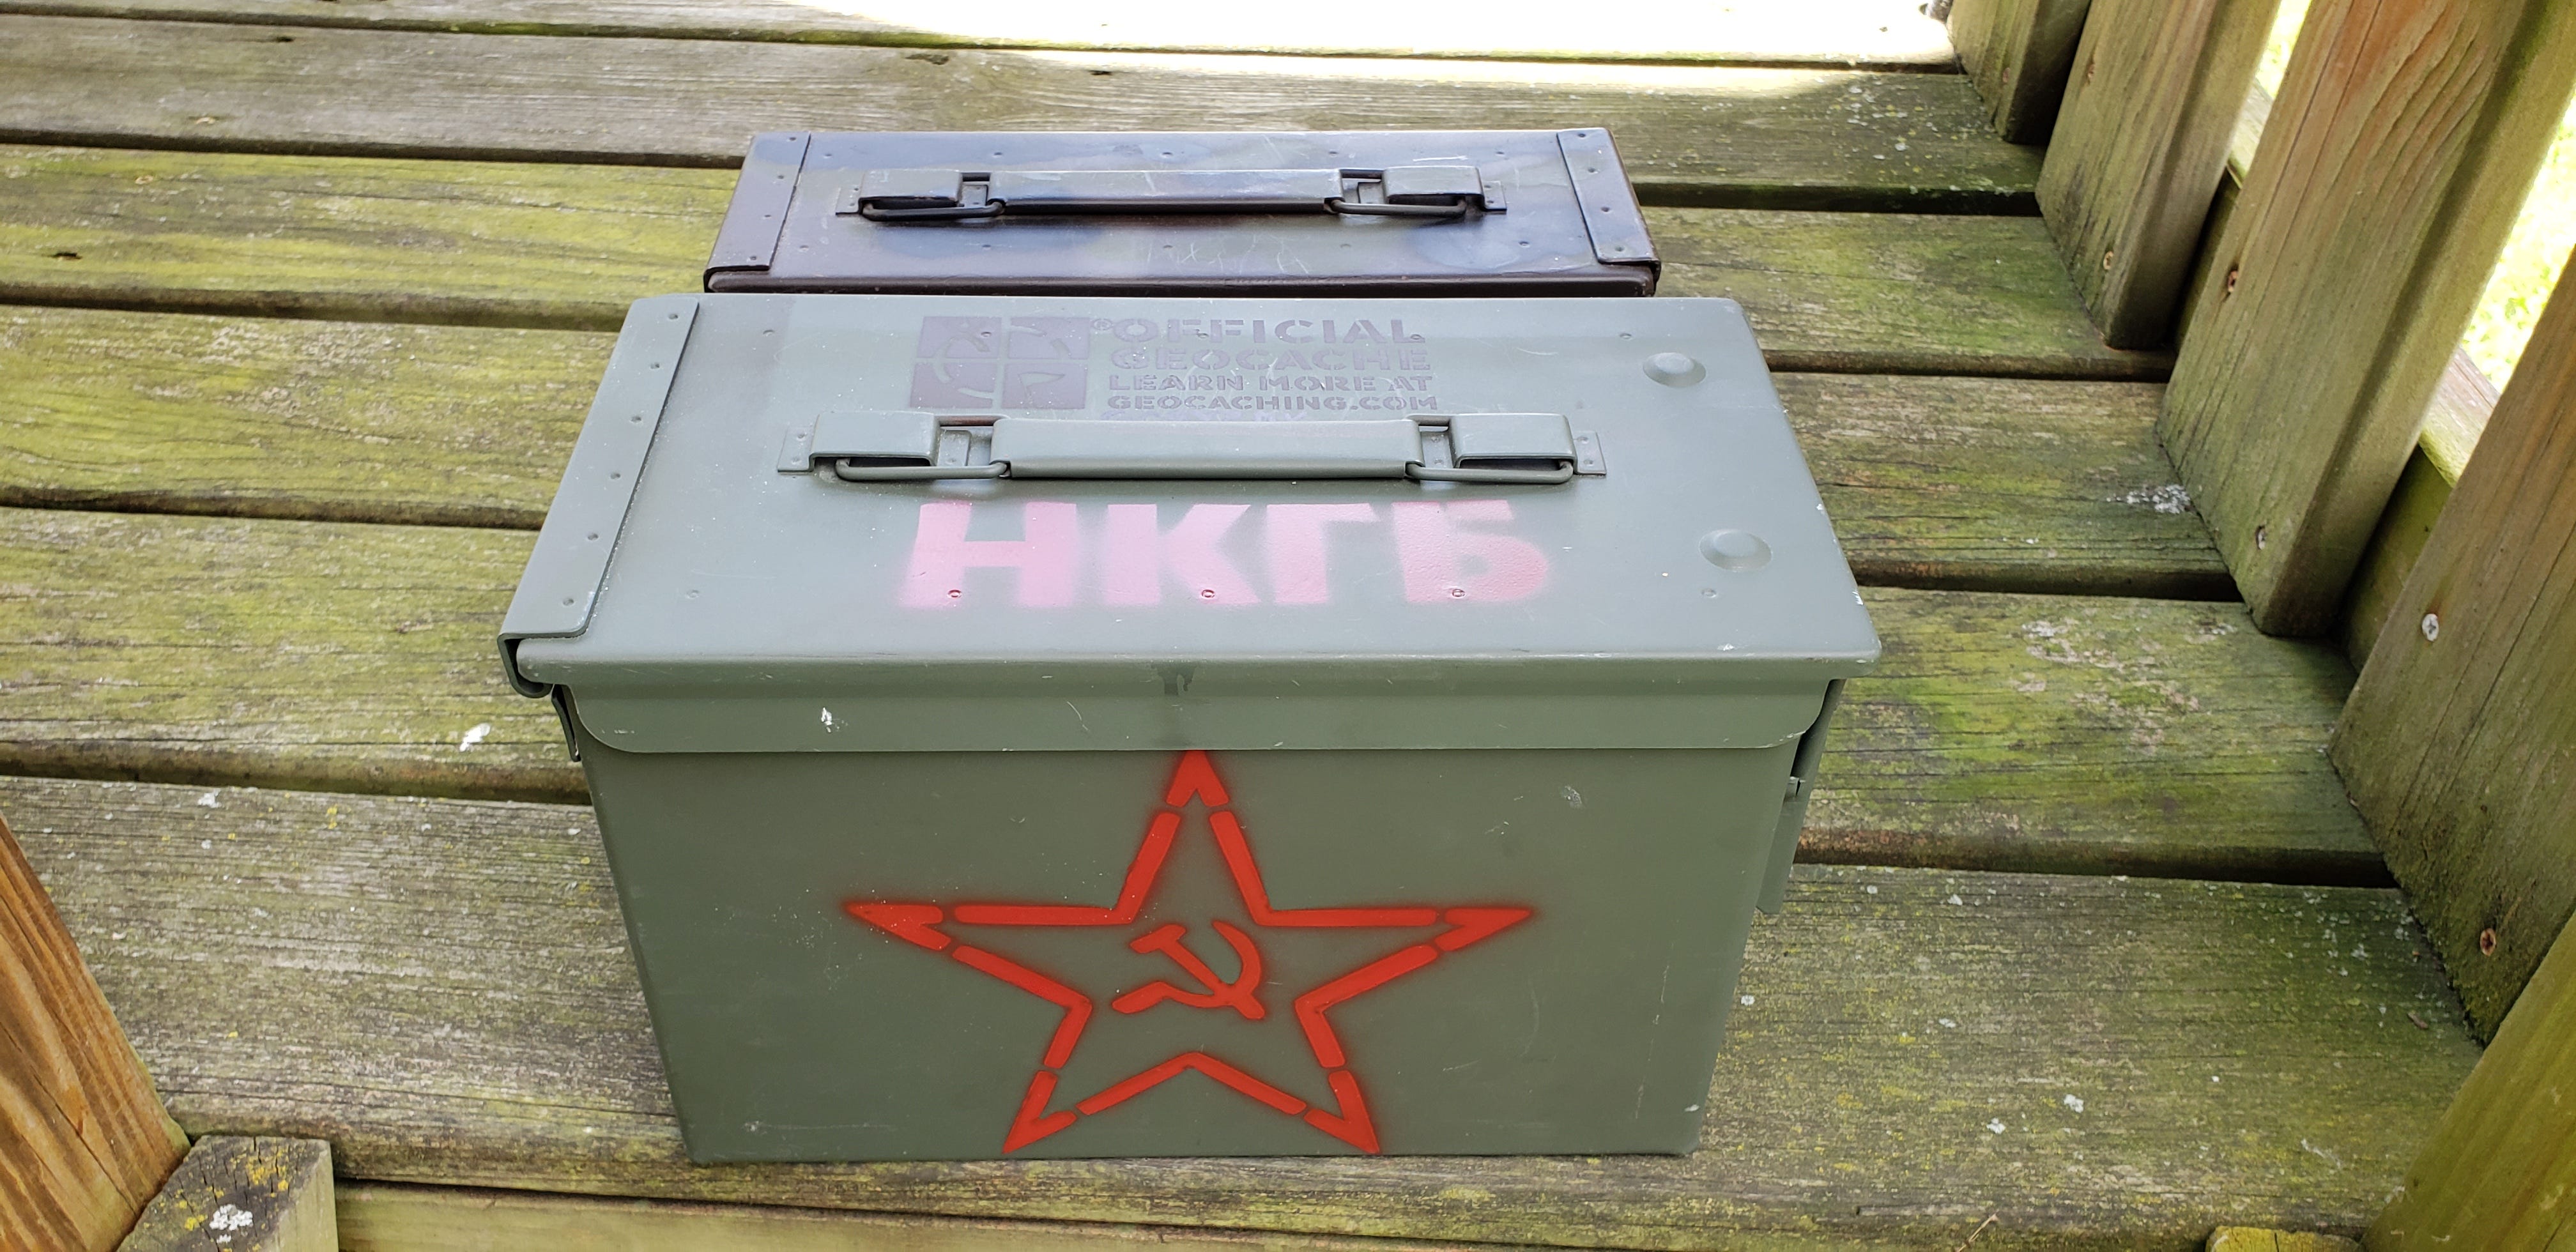
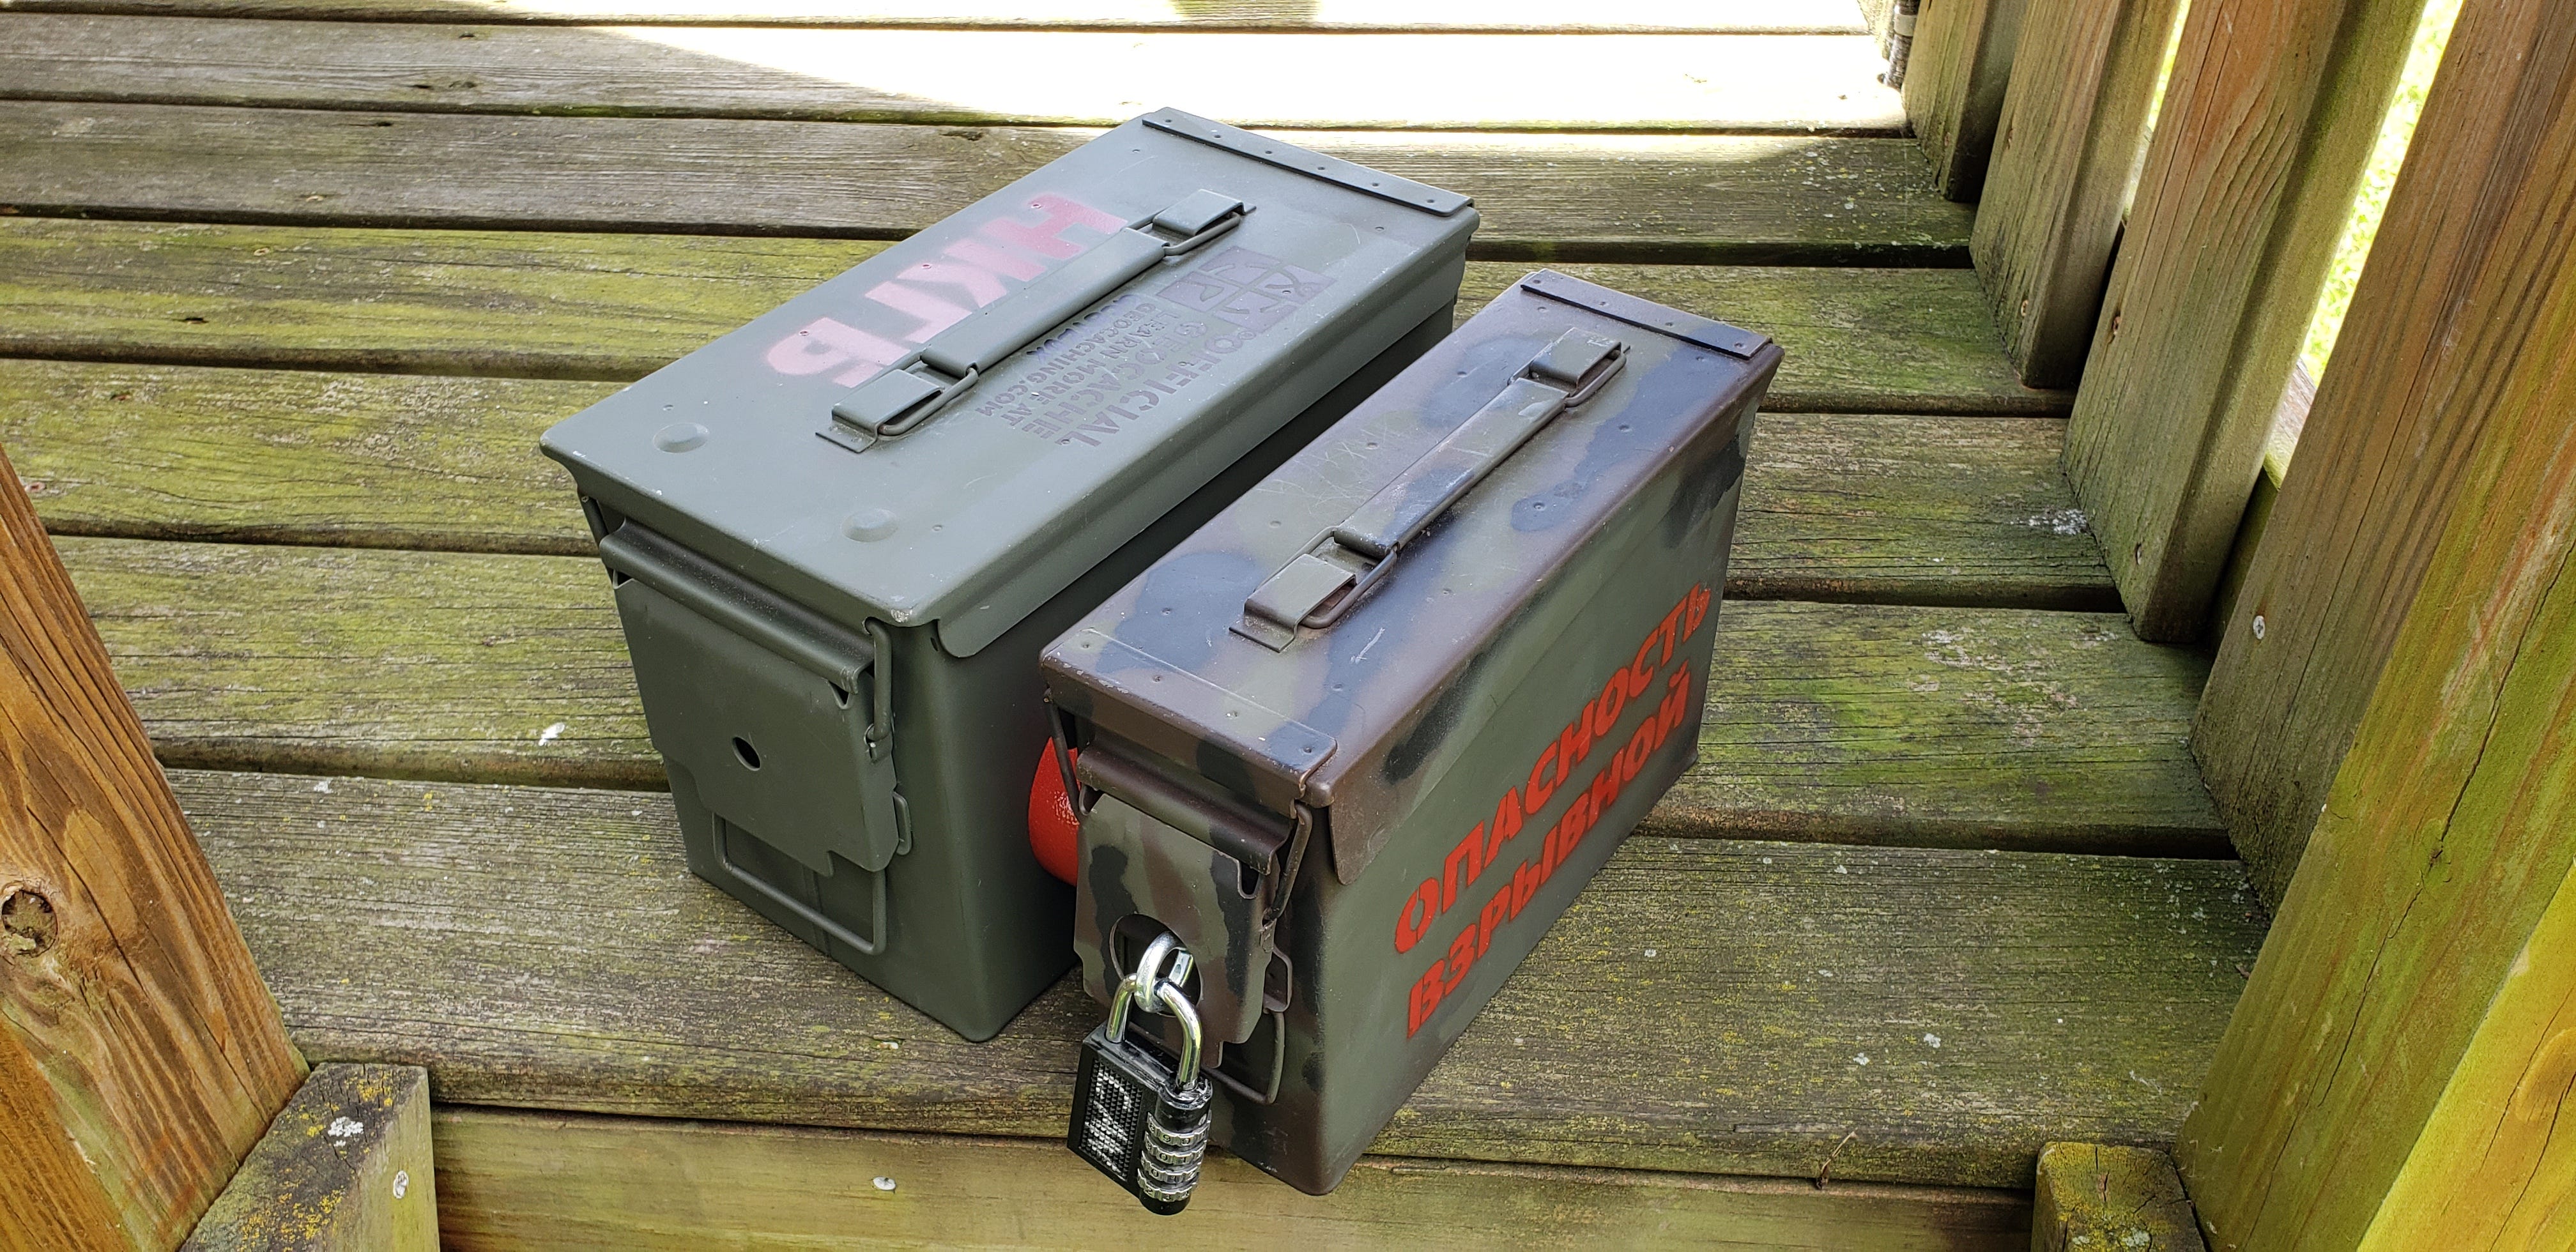
The star stencil was printed on a sheet of paper and cut with a craft knife. A paper stencil only works one or two times before it is saturated with paint. The lettering came from a Cricut machine. Craft cutter machines allow stencils or adhesive vinyl letters and are very useful for making containers. I used custom vinyl letters on my Couch Potato cache.
What techniques do you like for painting your containers? Leve some comments or send pictures of your builds!